Chickens, Bunnies, and Dogs, Oh My!

Guess what? I have actually missed this little micro-corner of the internet for this little blog of mine. Life got crazy for a while: home-building (quite literally), infants, 2020, toddlers, unfinished home projects, growing kids, life demands… the list could go on forever. But alas, I’m here again. I’m happy to see you. I’m happy to have some space, growth, freedom, bits of joy and lots of light and laughter as I navigate this beautiful life I get to create.

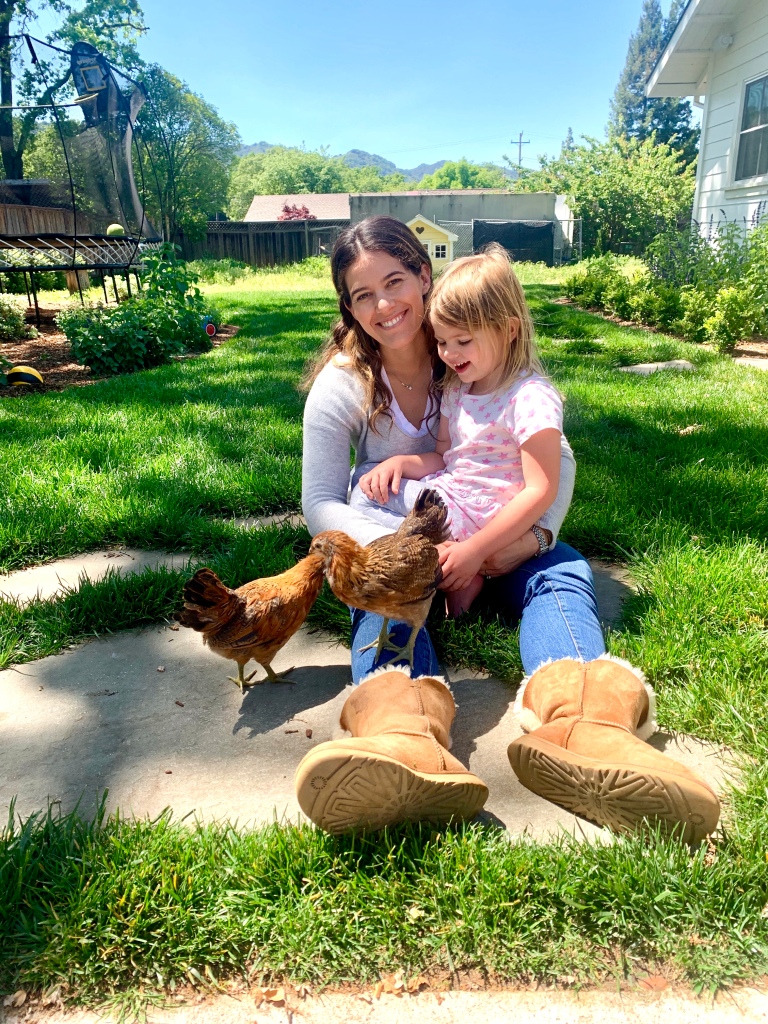
Lots of dreams and ideas for the year(s) ahead. Excited to see a lot of plans come to life! Last year, on Saturday, March 14th, the weekend the Stay at Home Order for Covid went into place we got 7 chickens! Actually, we got 8 but one turned out to be a rooster! He found a new home at a rooster sanctuary in the hills near where we live. I like to think he’s doing much better there than bossing around our sweet “Ladies” as I call them. They’ve been producing eggs since August which has been amazing because we haven’t bought eggs since! Through September and October we had lots of extra eggs to share with family and friends, which was nice.

Anyways, we need to finish the chicken area. It’s a messy, stinky, somewhat ugly side yard with a LOT of potential. But first, here’s a little recap:

Picking up our chicks at the feed store!
Nala getting acquainted with her new friends!
No one loved the baby chicks more than this girl!
Baby chicks are so fun!
Spent a lot of time doing this thanks to baby chicks and covid
Our side yard “before” chicks but after the home build. I’ll dust off a before the home build picture, it was quite the sight!
We have a coop! Now to build the run…
Chris built a run off the coop and secured it all the way around against predators! The painting got started but it still hasn’t been finished, so I’m excited to do that this spring.
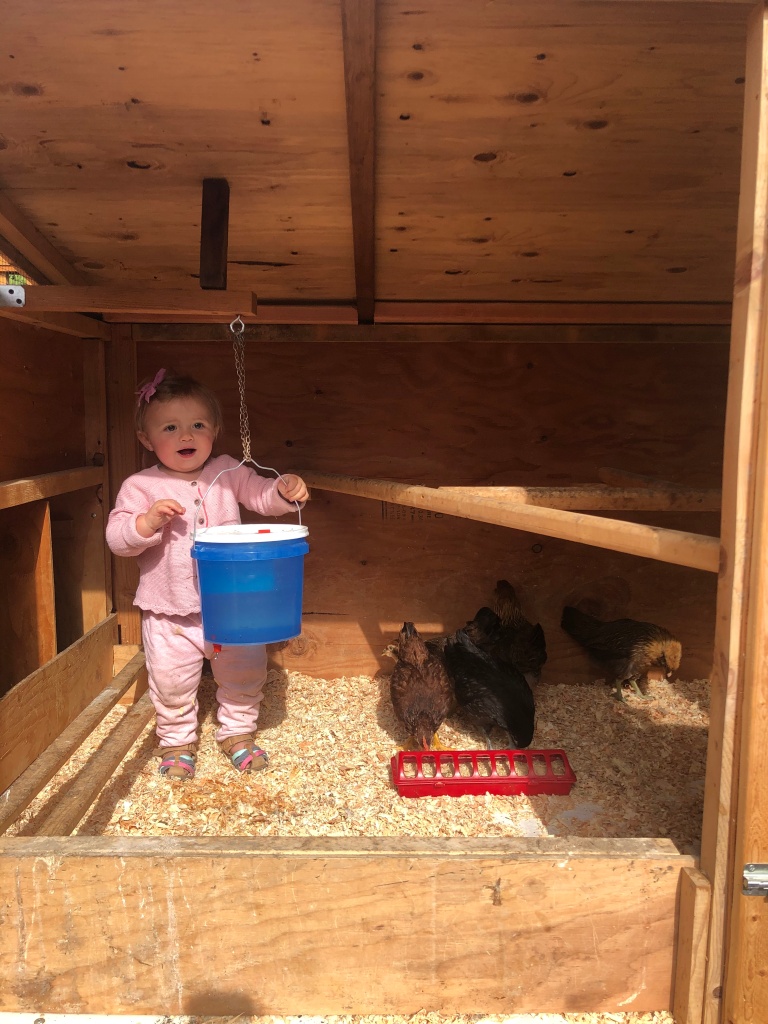
She’s a farm girl at heart 🙂
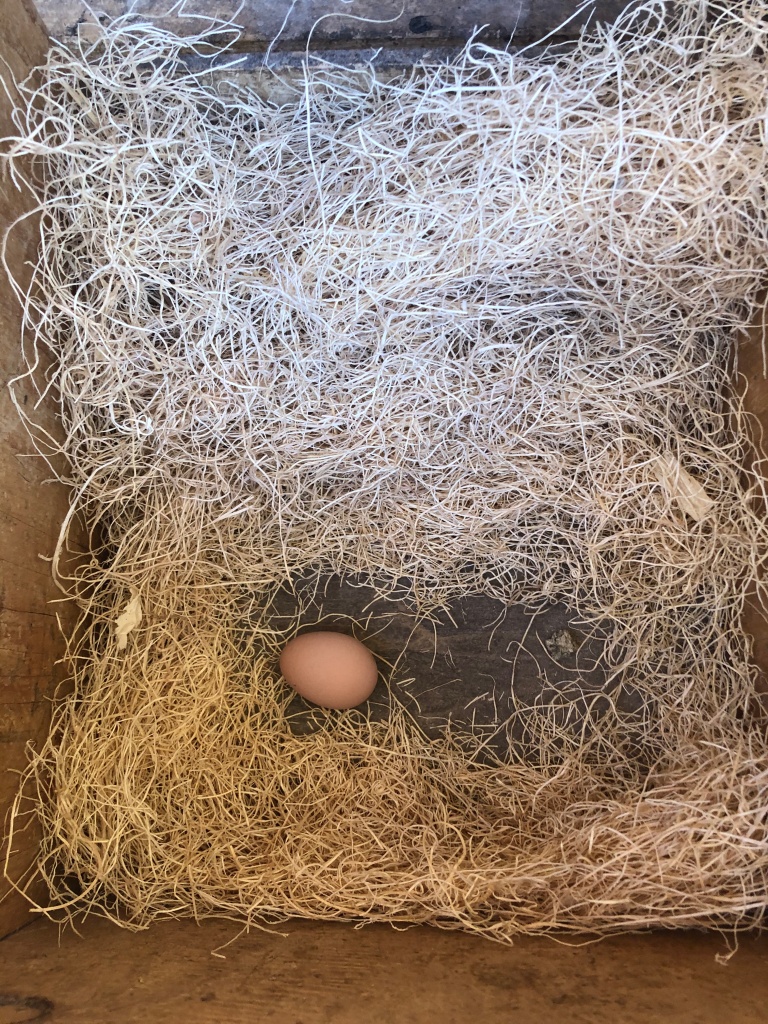
Our first egg! You can’t really tell here but it was a little tiny egg!
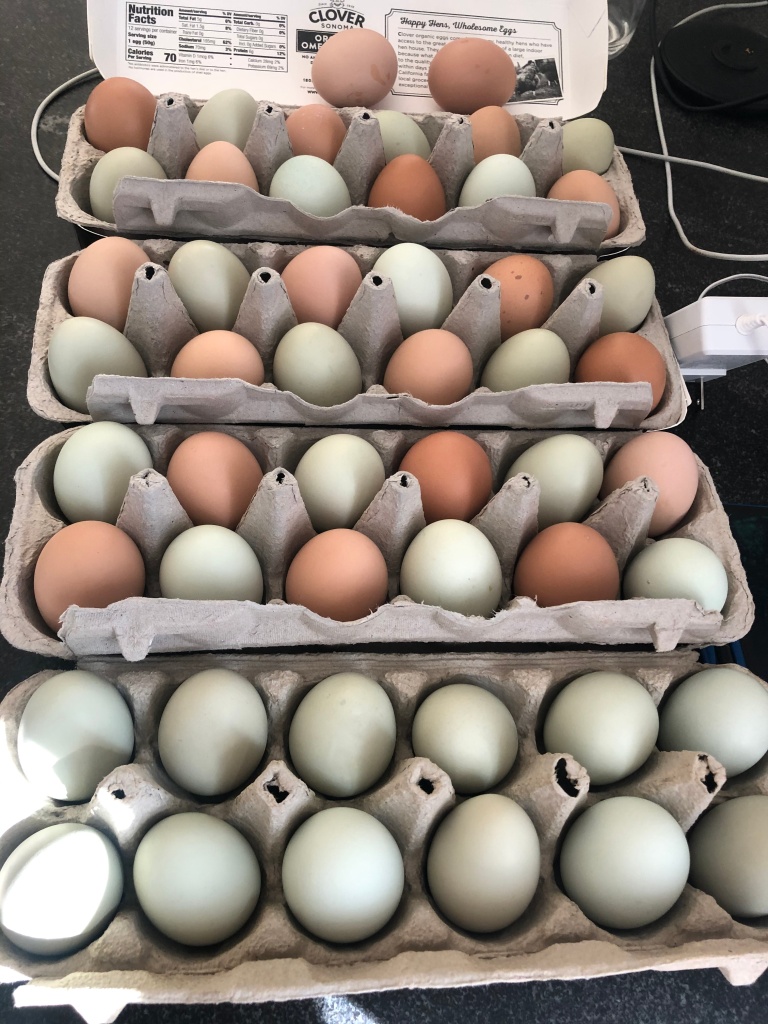
Looooots of eggs!
In August we adopted Bun Bun from friends who moved to Tennessee! She’s 10 and you’d never think it!
Gathering those eggs never gets old!

I’ll post next time about what this area looks like now and how I plan to clean it up!! In that last picture you can see all the leaves around my feet… those need to be blown and raked up for starters…

Cheers!

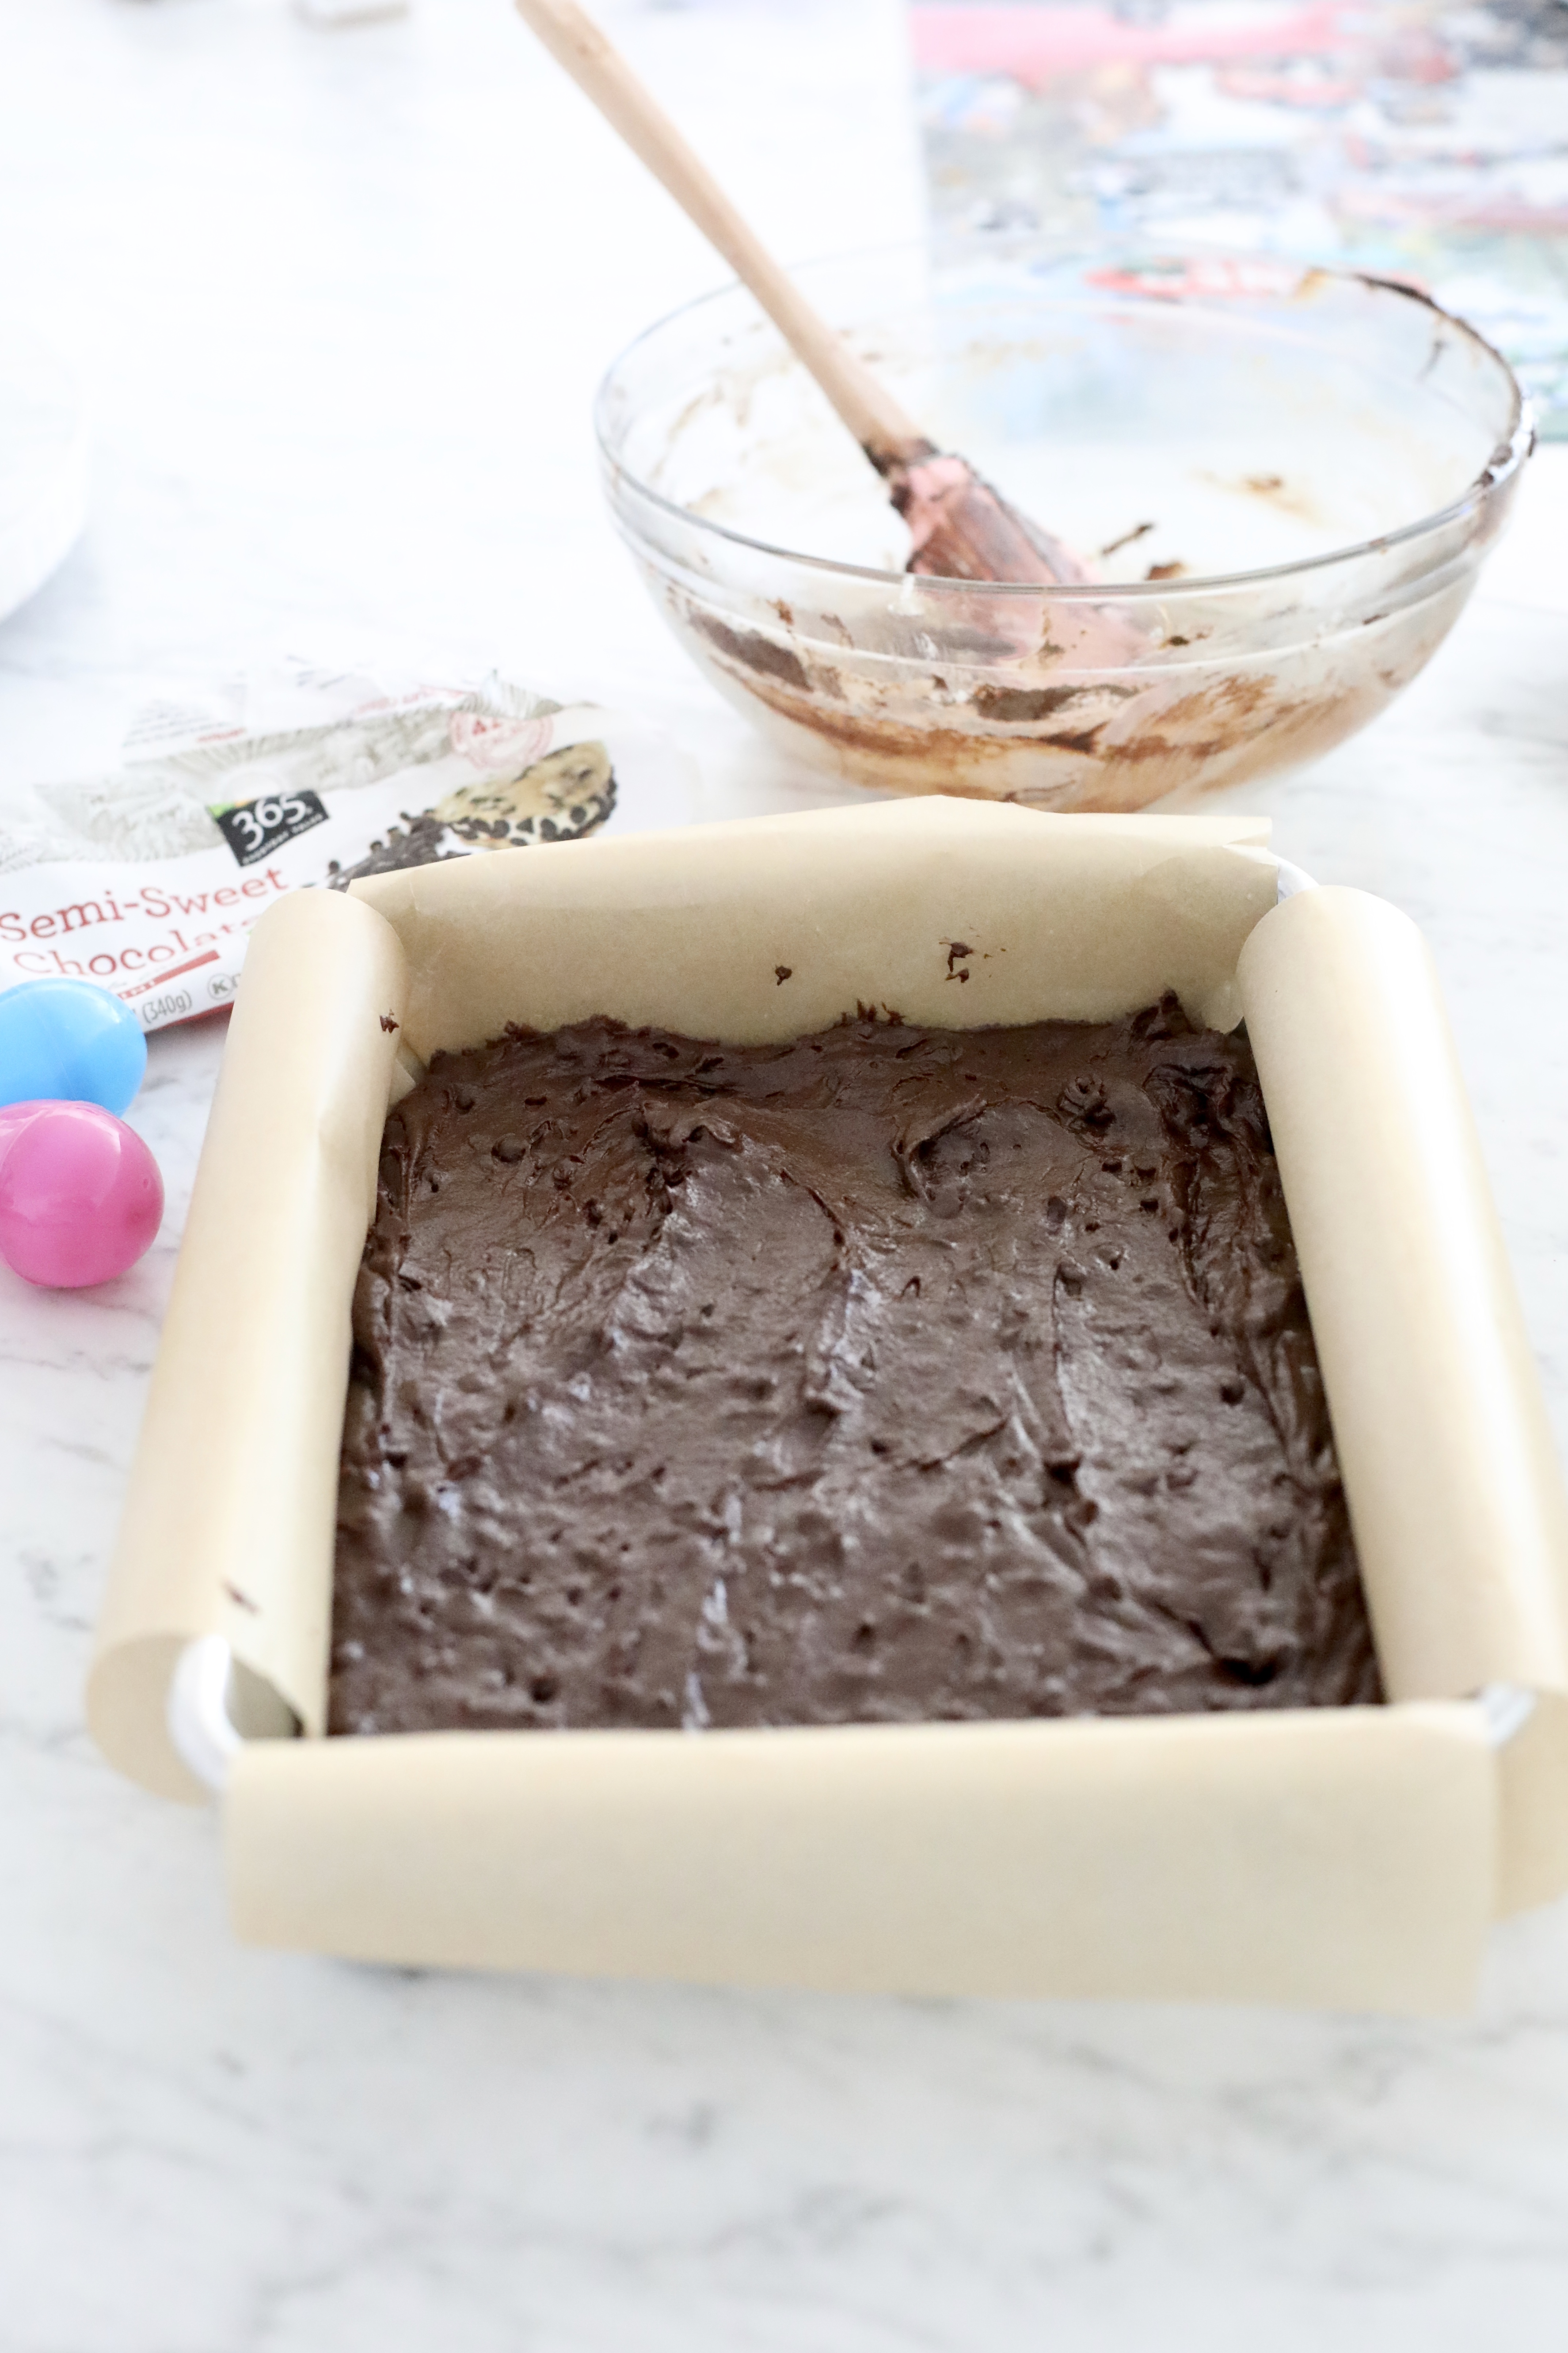
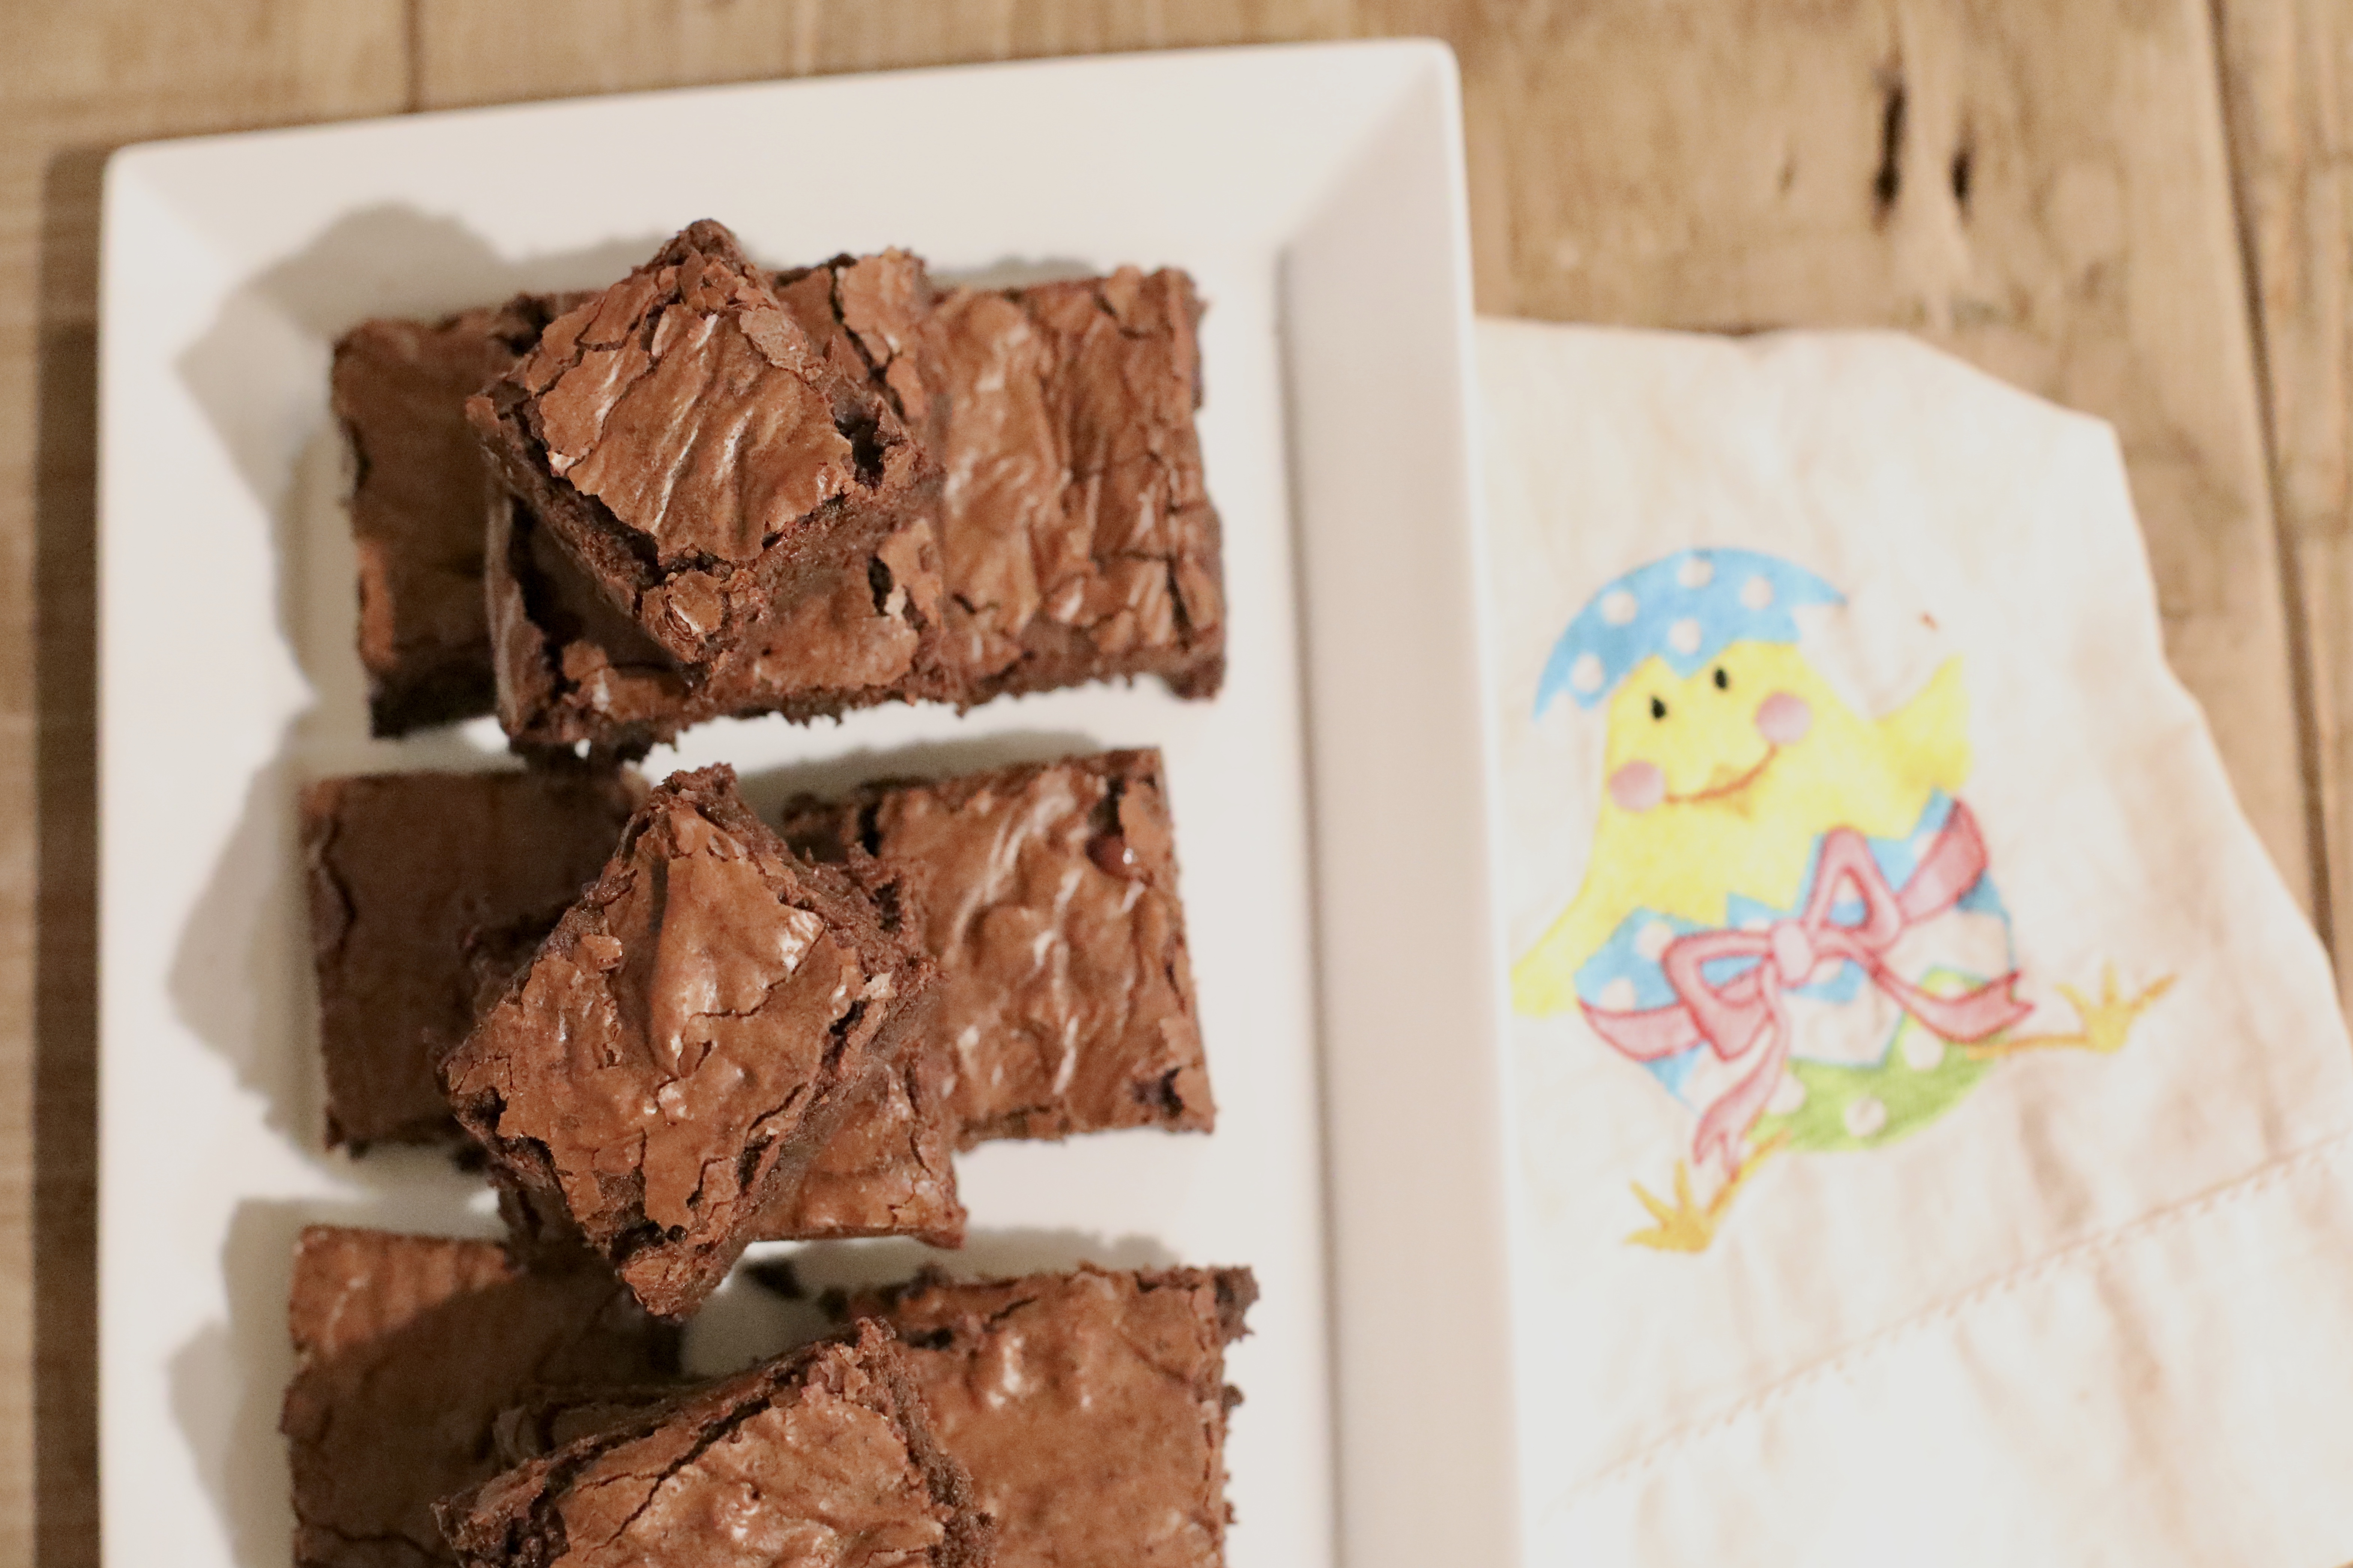
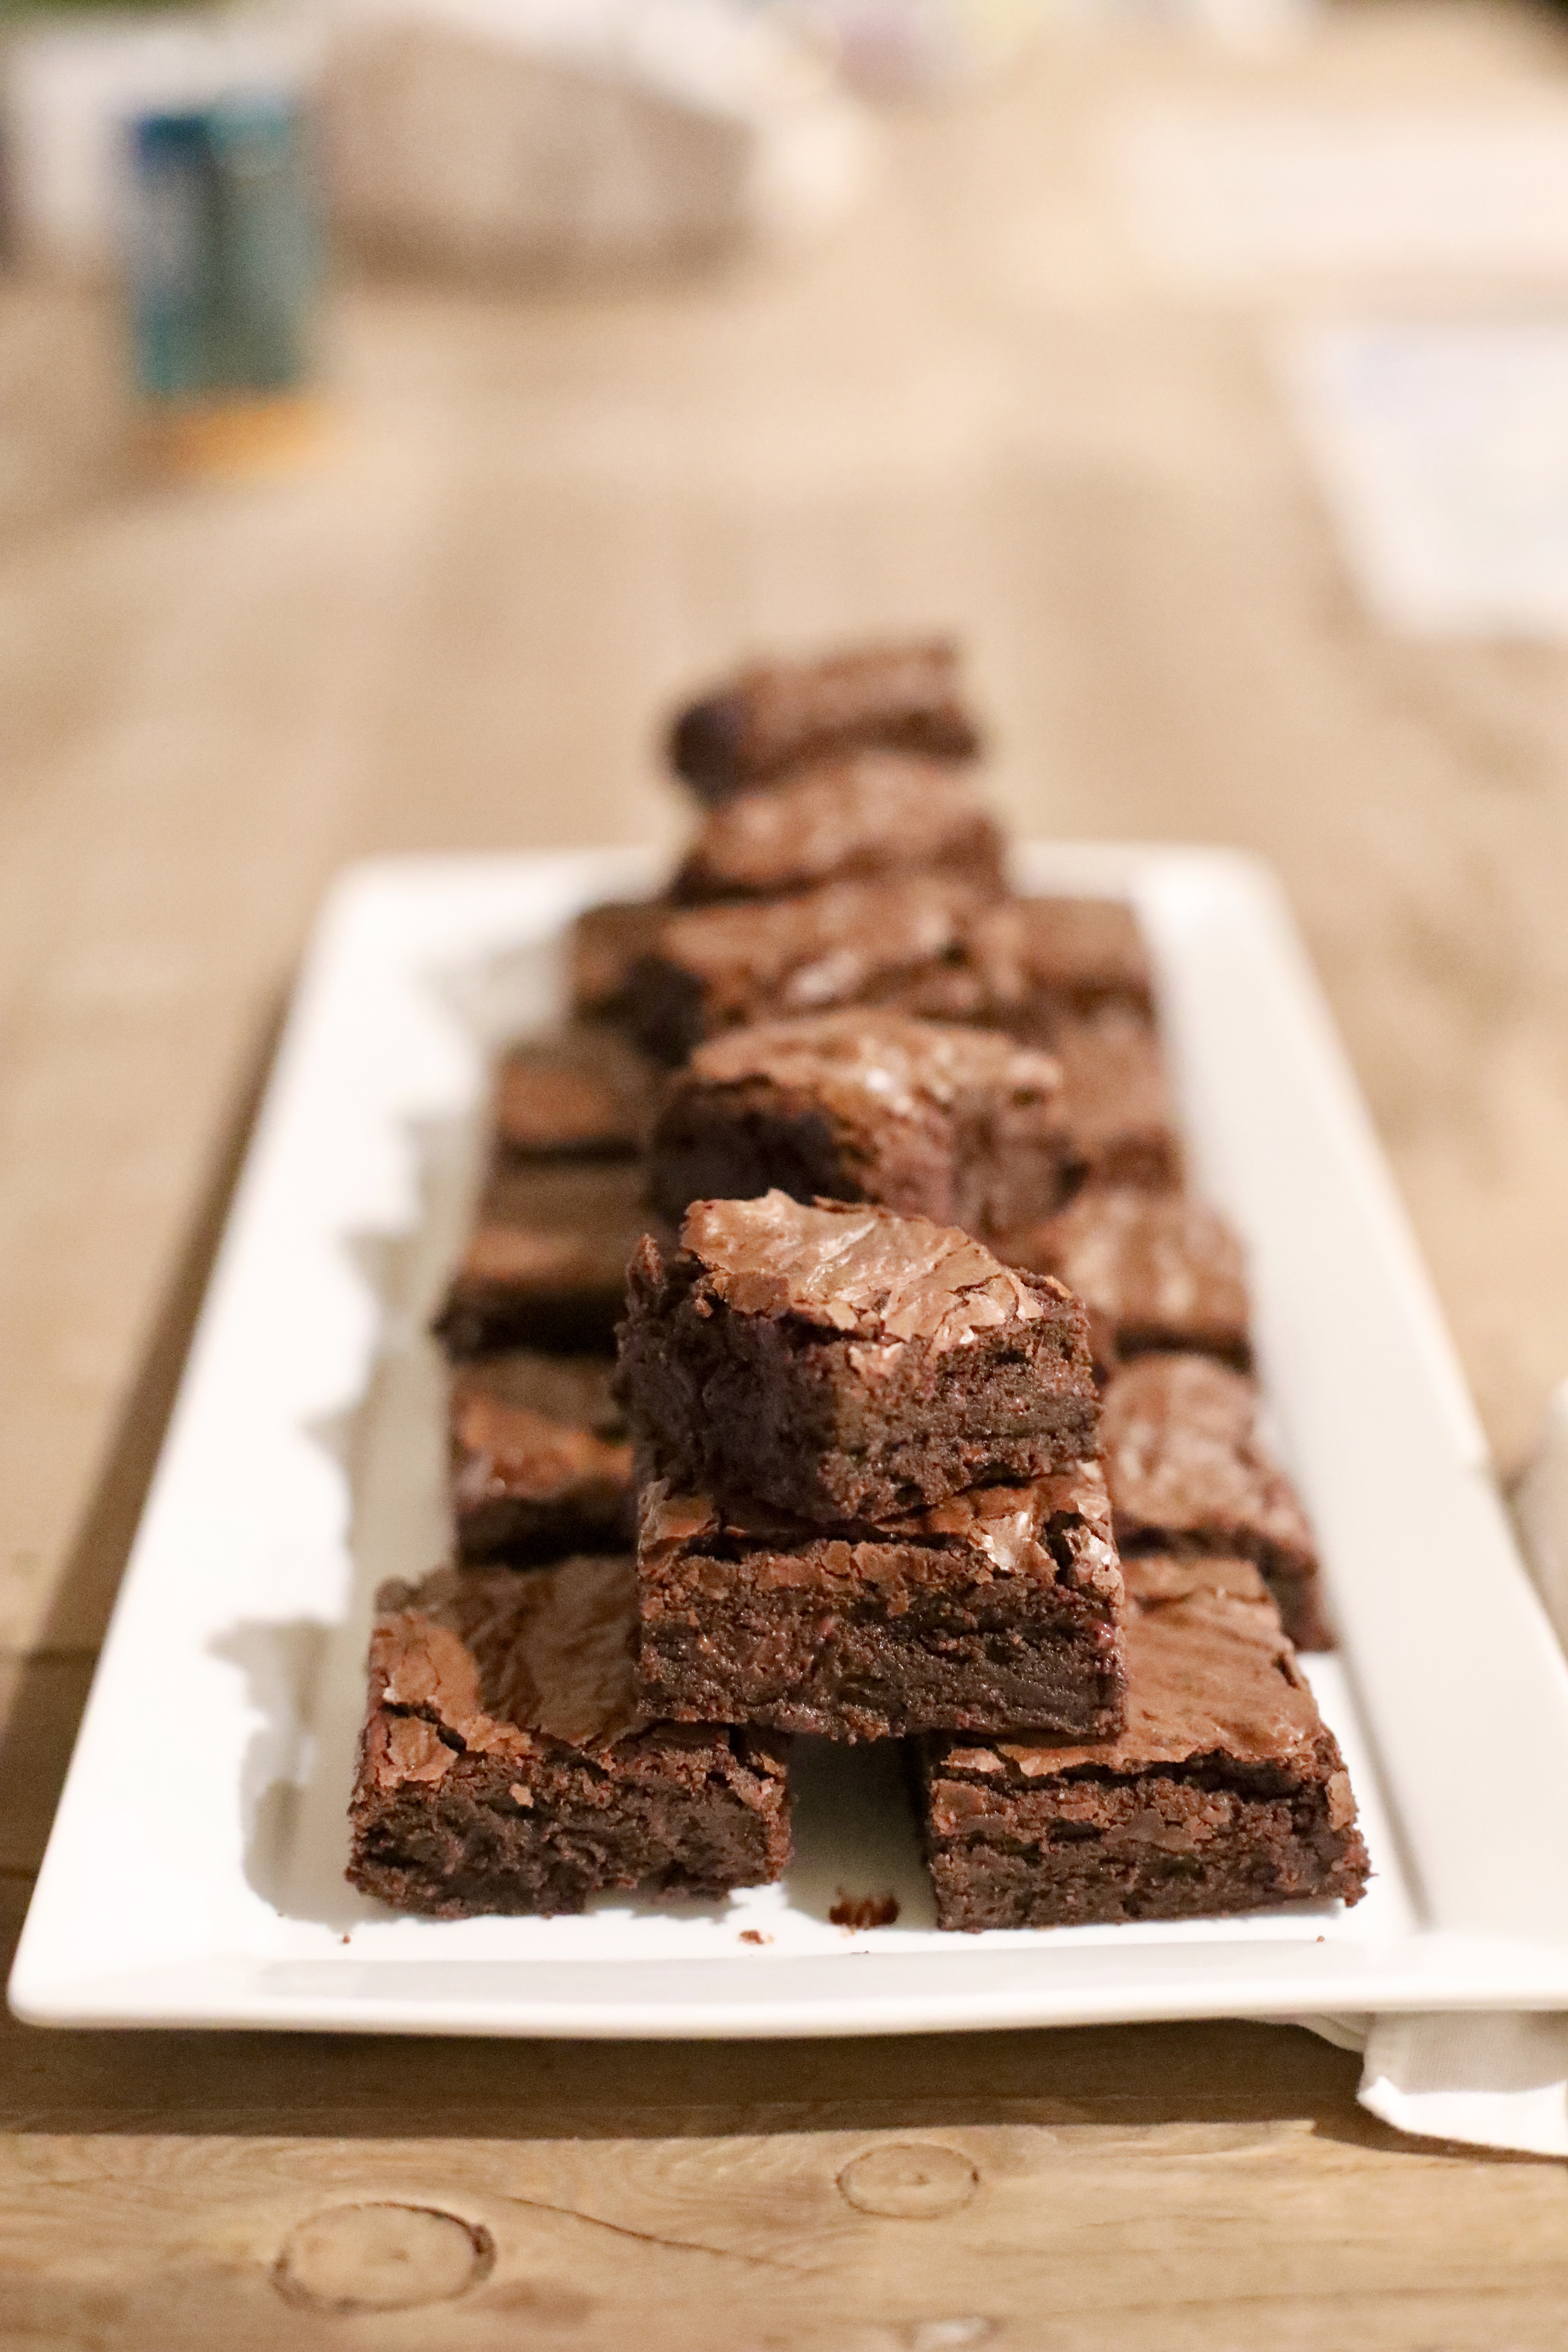
Brownies: always fudgy, never cakey


fullsizeoutput_31ba

Over the course of the last couple of years I’ve made a few different types of homemade brownies. However, they never turned out as well as boxed brownies! They were either too fudgy, too cakey, or didn’t hold up because they were too crumbly, etc.  I had basically given up on homemade brownies.

However, when we decided brownies should be our main Easter dessert this year, complete with berries and ice cream, I was determined to make them from scratch.  Que Sally’s Baking Addiction! I must say, she is one of two or three food bloggers whose recipes have never failed me. I quickly decided on these fudgy brownies, because I believe brownies should always be rich and fudgy! Don’t you? Otherwise, make a chocolate cake.

In the weeks since making these, I find myself craving them.  Not boxed brownies, but these specific brownies!  Alas, in my attempt to solve a problem (no more boxed brownies) I have created a new problem because making these, which I now crave over and beyond boxed brownies, does require a little bit more of an effort and mess.  But they are worth every effort! And honesty, the effort to make them is minimal… it’s cleaning the dishes I struggle with the most these days, just ask my husband 😉

fullsizeoutput_31b8fullsizeoutput_31c0fullsizeoutput_31c3

cheers!

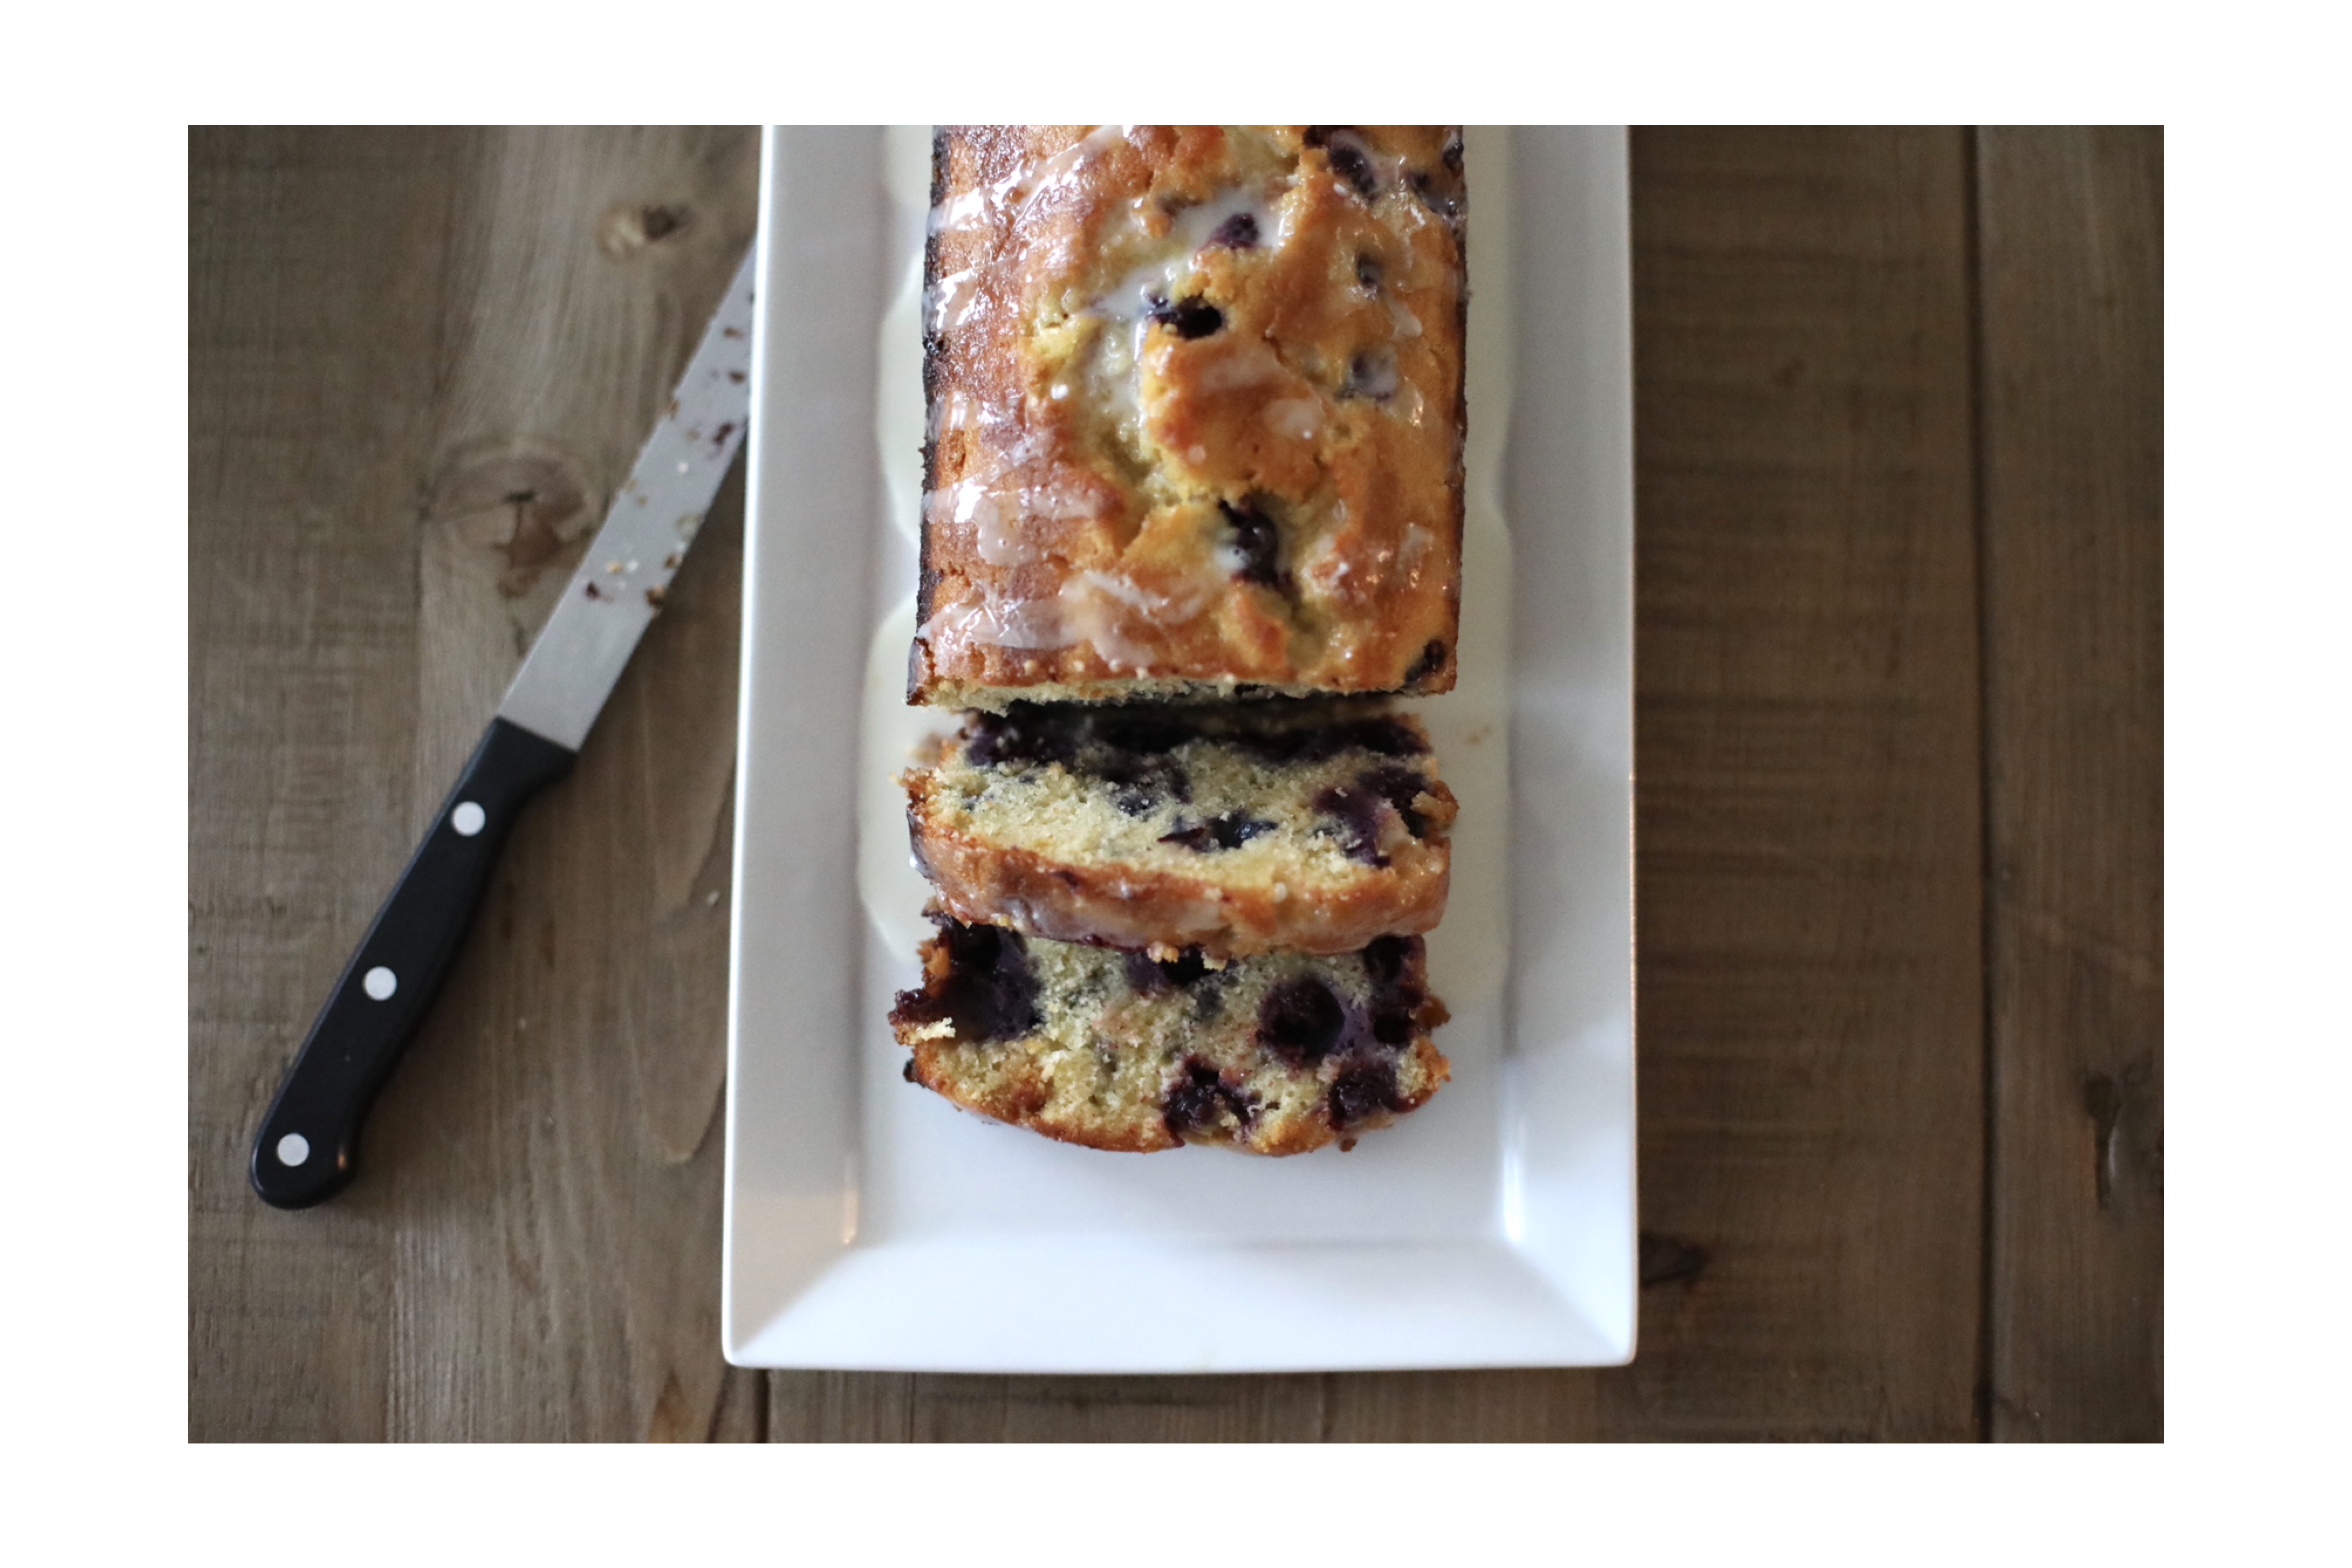
Lemon-Blueberry Bread to Fight the Winter Blues

It’s been particularly rainy, cold, and windy here in the Bay Area. Normally this doesn’t bother me, as I love fall and winter and relish in this weather. However, this year I wouldn’t mind speeding up the process a bit as the thought of spring and summer sound exceptionally wonderful.

One night earlier this week, Chris came home and I came undone: I was exhausted.  It is time for summer, sunshine and a long break, I told him. The next morning my mom’s group was meeting and I was determined to bring something: I may not be able to control the weather, if my children are sick, how many more loads of laundry we have left, the TRAFFIC – oh man, the traffic is so terrible around here that it’s soul crushing…. but I can make a pretty great Lemon Blueberry Bread to turn my mood right side up again, and that alone is something worth celebrating.  I pulled out the last few lemons our sweet neighbor gave us a few weeks back at the start of February (whose lemon tree produces 20+ pounds of lemons in the dead of winter!?) and the pack of blueberries I’d randomly bought at the store last weekend and set to work.

Recipe originally from Home Baked Comfort by Kim Laidlaw

INGREDIENTS:

For the Bread:

  • 1 1/2 cups all purpose flour
  • 1 tsp baking powder
  • 1/2 tsp salt
  • 1/2 cup unsalted butter, room temperature
  • 3/4 cup granulated sugar
  • 1 tbsp grated lemon zest
  • 3 large eggs
  • 1/2  cup whole milk
  • 1 tsp vanilla extract
  • 1 cup fresh blueberries

For the Syrup:

  • 3 tbsp fresh lemon juice
  • 3 tbsp granulated sugar

For the Glaze:

  • 1/2 cup confectioner’s sugar
  • 3 tsp fresh lemon juice

INSTRUCTIONS:

  1. Preheat oven to 350. Butter and flour a 9×5 inch loaf pan.
  2. In a bowl, sift the flour, baking powder, and salt. Set aside.
  3. In your stand mixer or large bowl with a hand mixer, beat the butter, granulated sugar, and lemon zest on medium-high speed until light and soft. About 3 minutes.
  4. Add the eggs, one at a time until fully incorporated.
  5. Add the milk and vanilla extract, and mix fully together.
  6. Slowly add the dry ingredients, and stir until just blended. Fold in the blueberries.
  7. Scrape into the loaf pan, and place in oven. Bake for about 50 minutes – I check it around 45 minutes and take it out around 50-51 minutes, when a toothpick inserted in the center comes out clean.
  8. Take it out of the oven, let it cool and then turn onto a plate.
  9. While the bread is in the oven, make the syrup:
    1. In a small saucepan, boil the lemon juice and granulated sugar over medium heat until syrupy.  It will bubble up and get syrupy after about 2-3 minutes. Remove from heat.
    1. Using a wooden skewer (or toothpick), pierce the top, sides, and bottom of the bread.  Brush, or I typically pour, the syrup all over the bread. It’ll ooze into the pierced parts and be amazing, I promise.
  10. Make the glaze: in a small bowl, stir the confectioners’ sugar and lemon juice. Drizzle over the top of the bread once it’s completely cool.

NOTES:

  • The recipe states to toss the blueberries in a small bowl with a teaspoon of flour  before folding into the batter.  The idea is that this prevents the blueberries from sinking to the bottom of the loaf pan while it’s baking. I don’t do this.  I’ve done it a couple of times and found that: (1) it doesn’t serve it’s purpose and (2) it’s more work and clean up.

Cheers!

It’s All About the Guac!

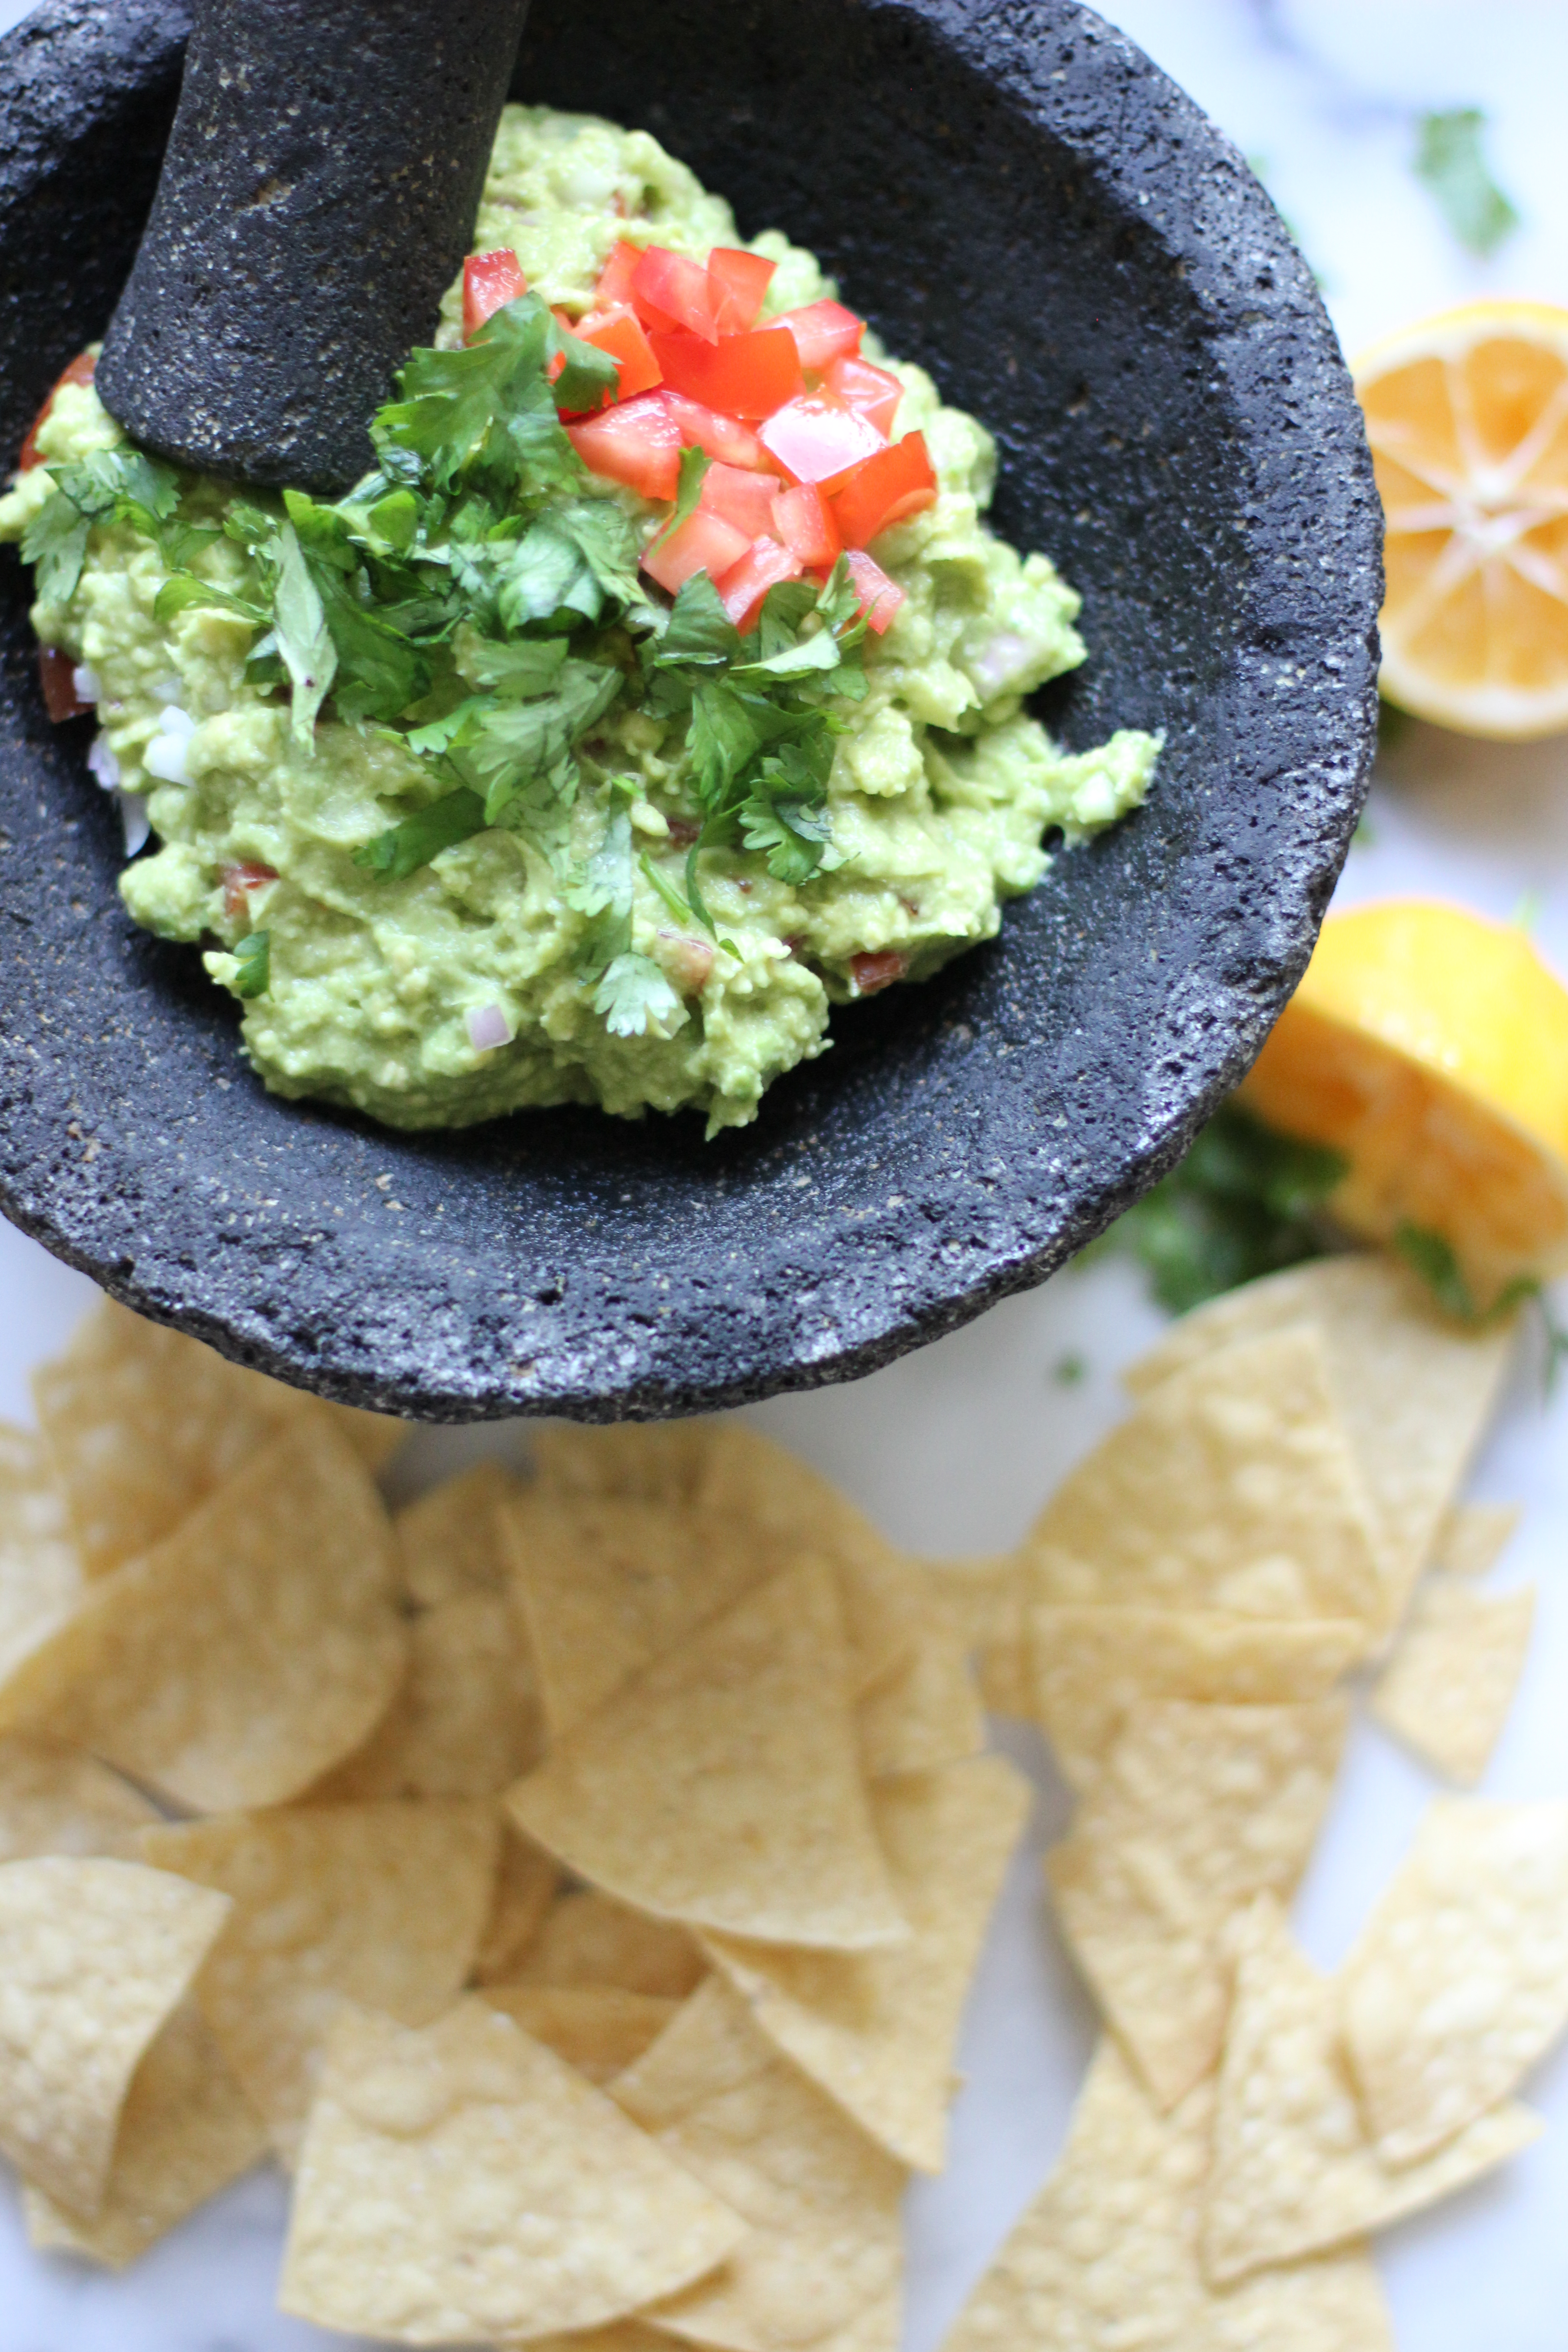
fullsizeoutput_28a9

All I need in life is good guacamole and a strong margarita.  Sure, I would miss chocolate, tacos, and coffee, but I don’t think I could survive off just those things.  However, guacamole and margaritas could sustain me forever.

In case you live in a hole, it’s Cinco de Mayo tomorrow. I used to assume this was Mexico’s Independence Day, but according to Wikipedia the date, “commemorate(s) the Mexican Army’s difficult victory over the French Empire at the Battle of Puebla”.  While their Independence from Spain is celebrated September 16th.

For me, I’m grateful it means I get to enjoy some good Mexican food! I was in elementary school – maybe 4th grade – when I first tried Mexican food with one of my best friends that year.  Her mom picked us up after school and took as to Taco Bell a couple of blocks away.  I know, Taco Bell, sounds questionable.  I was mortified at the time: I’d never eaten a taco or burrito, or any of these things on the menu.  I decided I’d order whatever she had and just eat it. She ordered two, I ordered one. After I was done I wished I had ordered two like she had.  It was so good I started asking my mom to take me to Taco Bell.

I suppose that’s how my love for Mexican food started: through positive peer pressure to eat a bean and cheese burrito in the 4th grade.

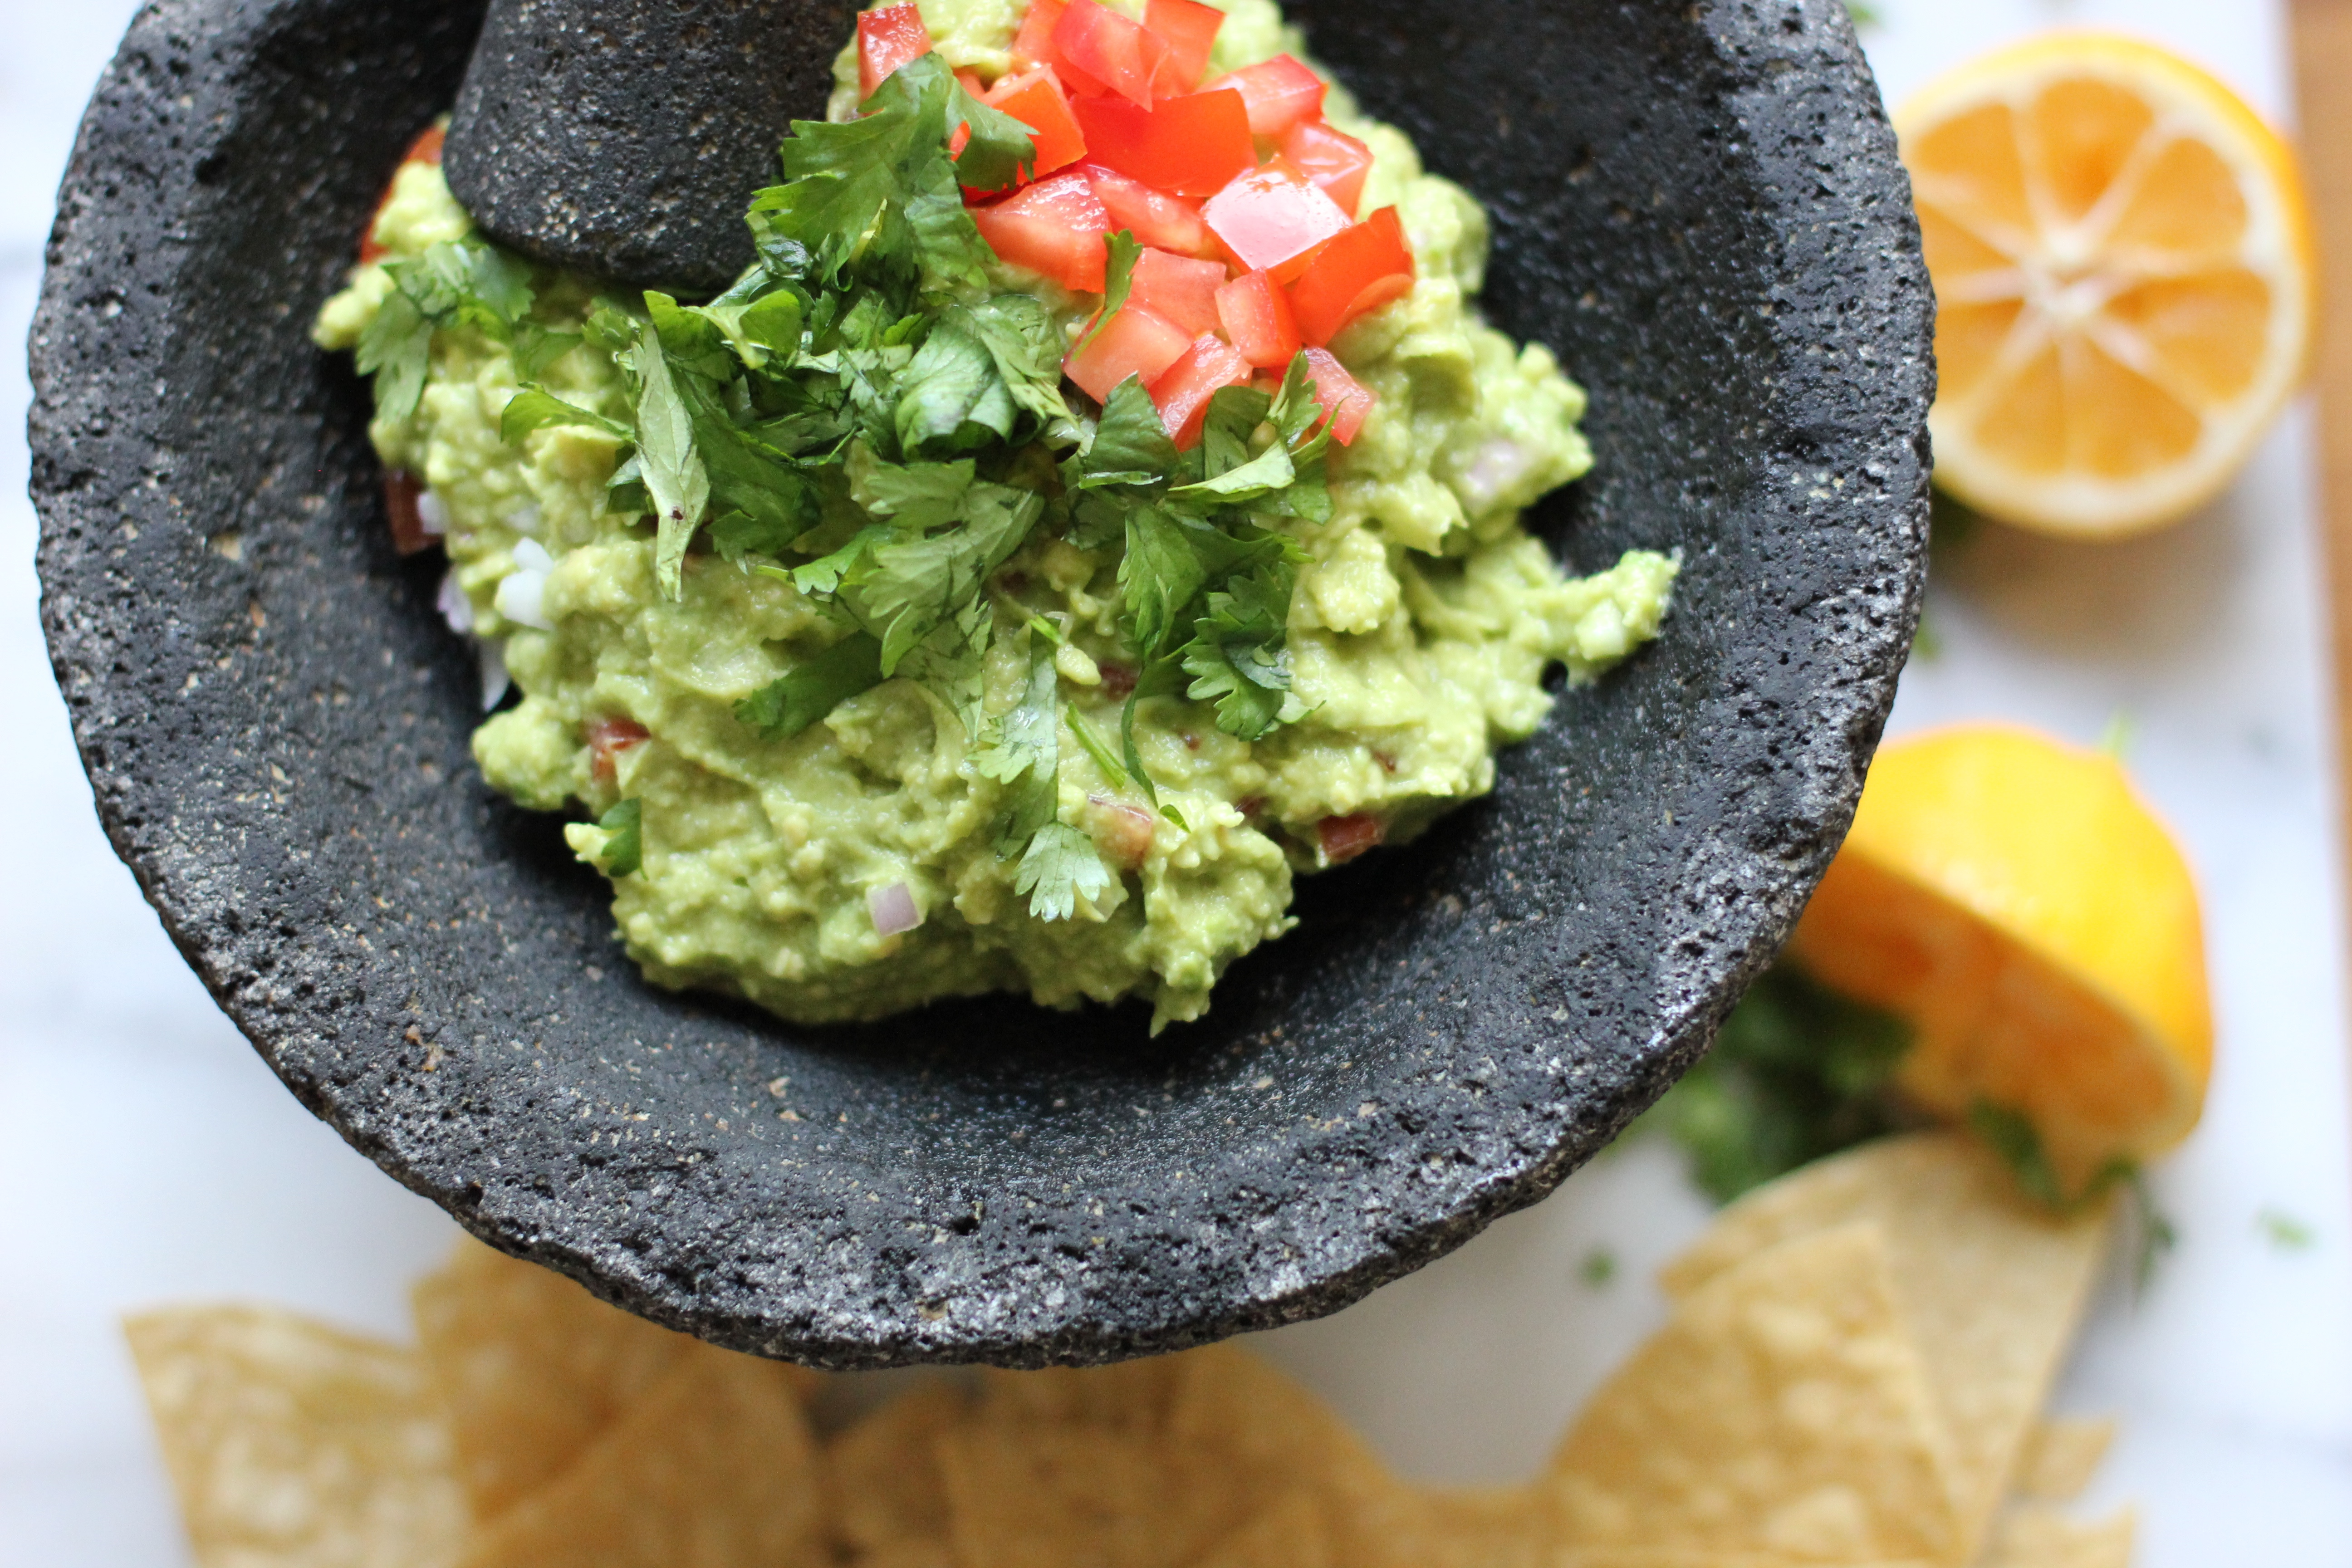
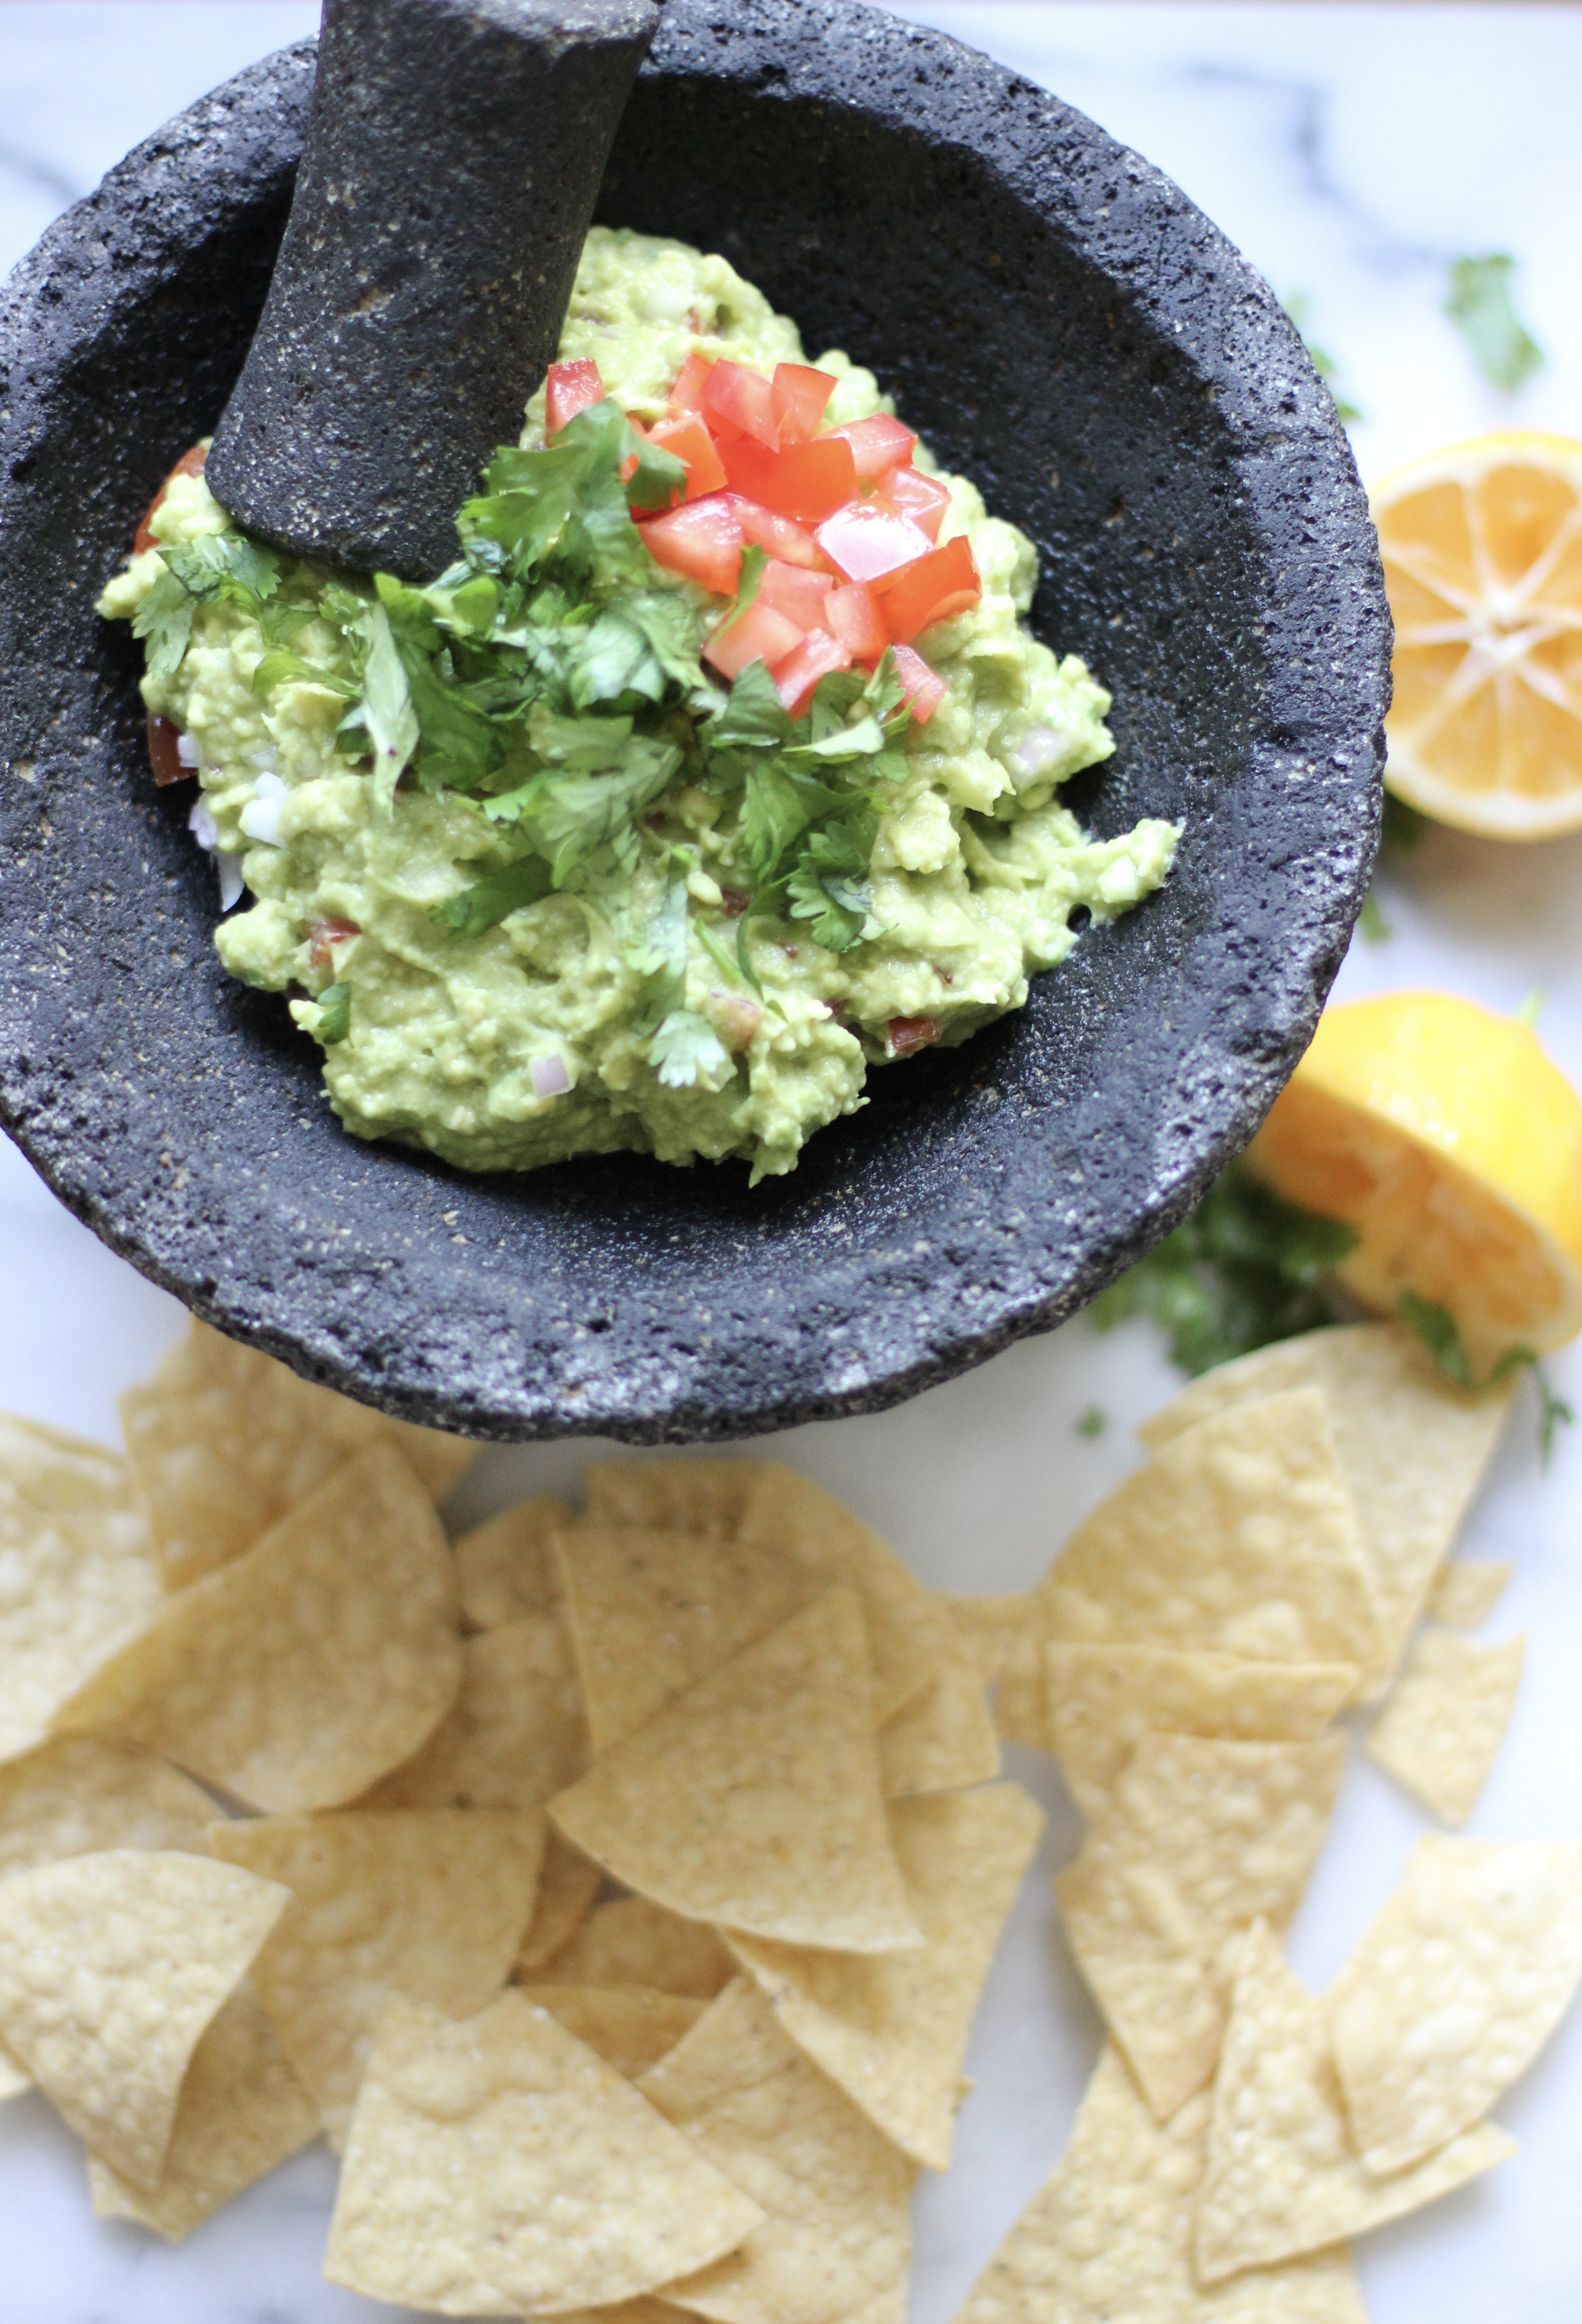
My love for guacamole (and avocados) came a little later in life during my college years.  But it was like meeting my food soul mate if you will.  It was while devouring a bowl of guacamole and chips that it first crossed my mind that I could, maybe, in some crazy crazy way be pregnant with our first over 6 years ago. It’s what I ate the most of while I was pregnant with him and later our daughter, along with all forms of chocolate and avocados in general.  Guac is our jam around here.  Sometimes we just mash some avocado, add a little salt, a splash of lime or lemon or both.  Sometimes we mash it and add a few spoonfuls of our favorite salsa.  Sometimes we make it this way:
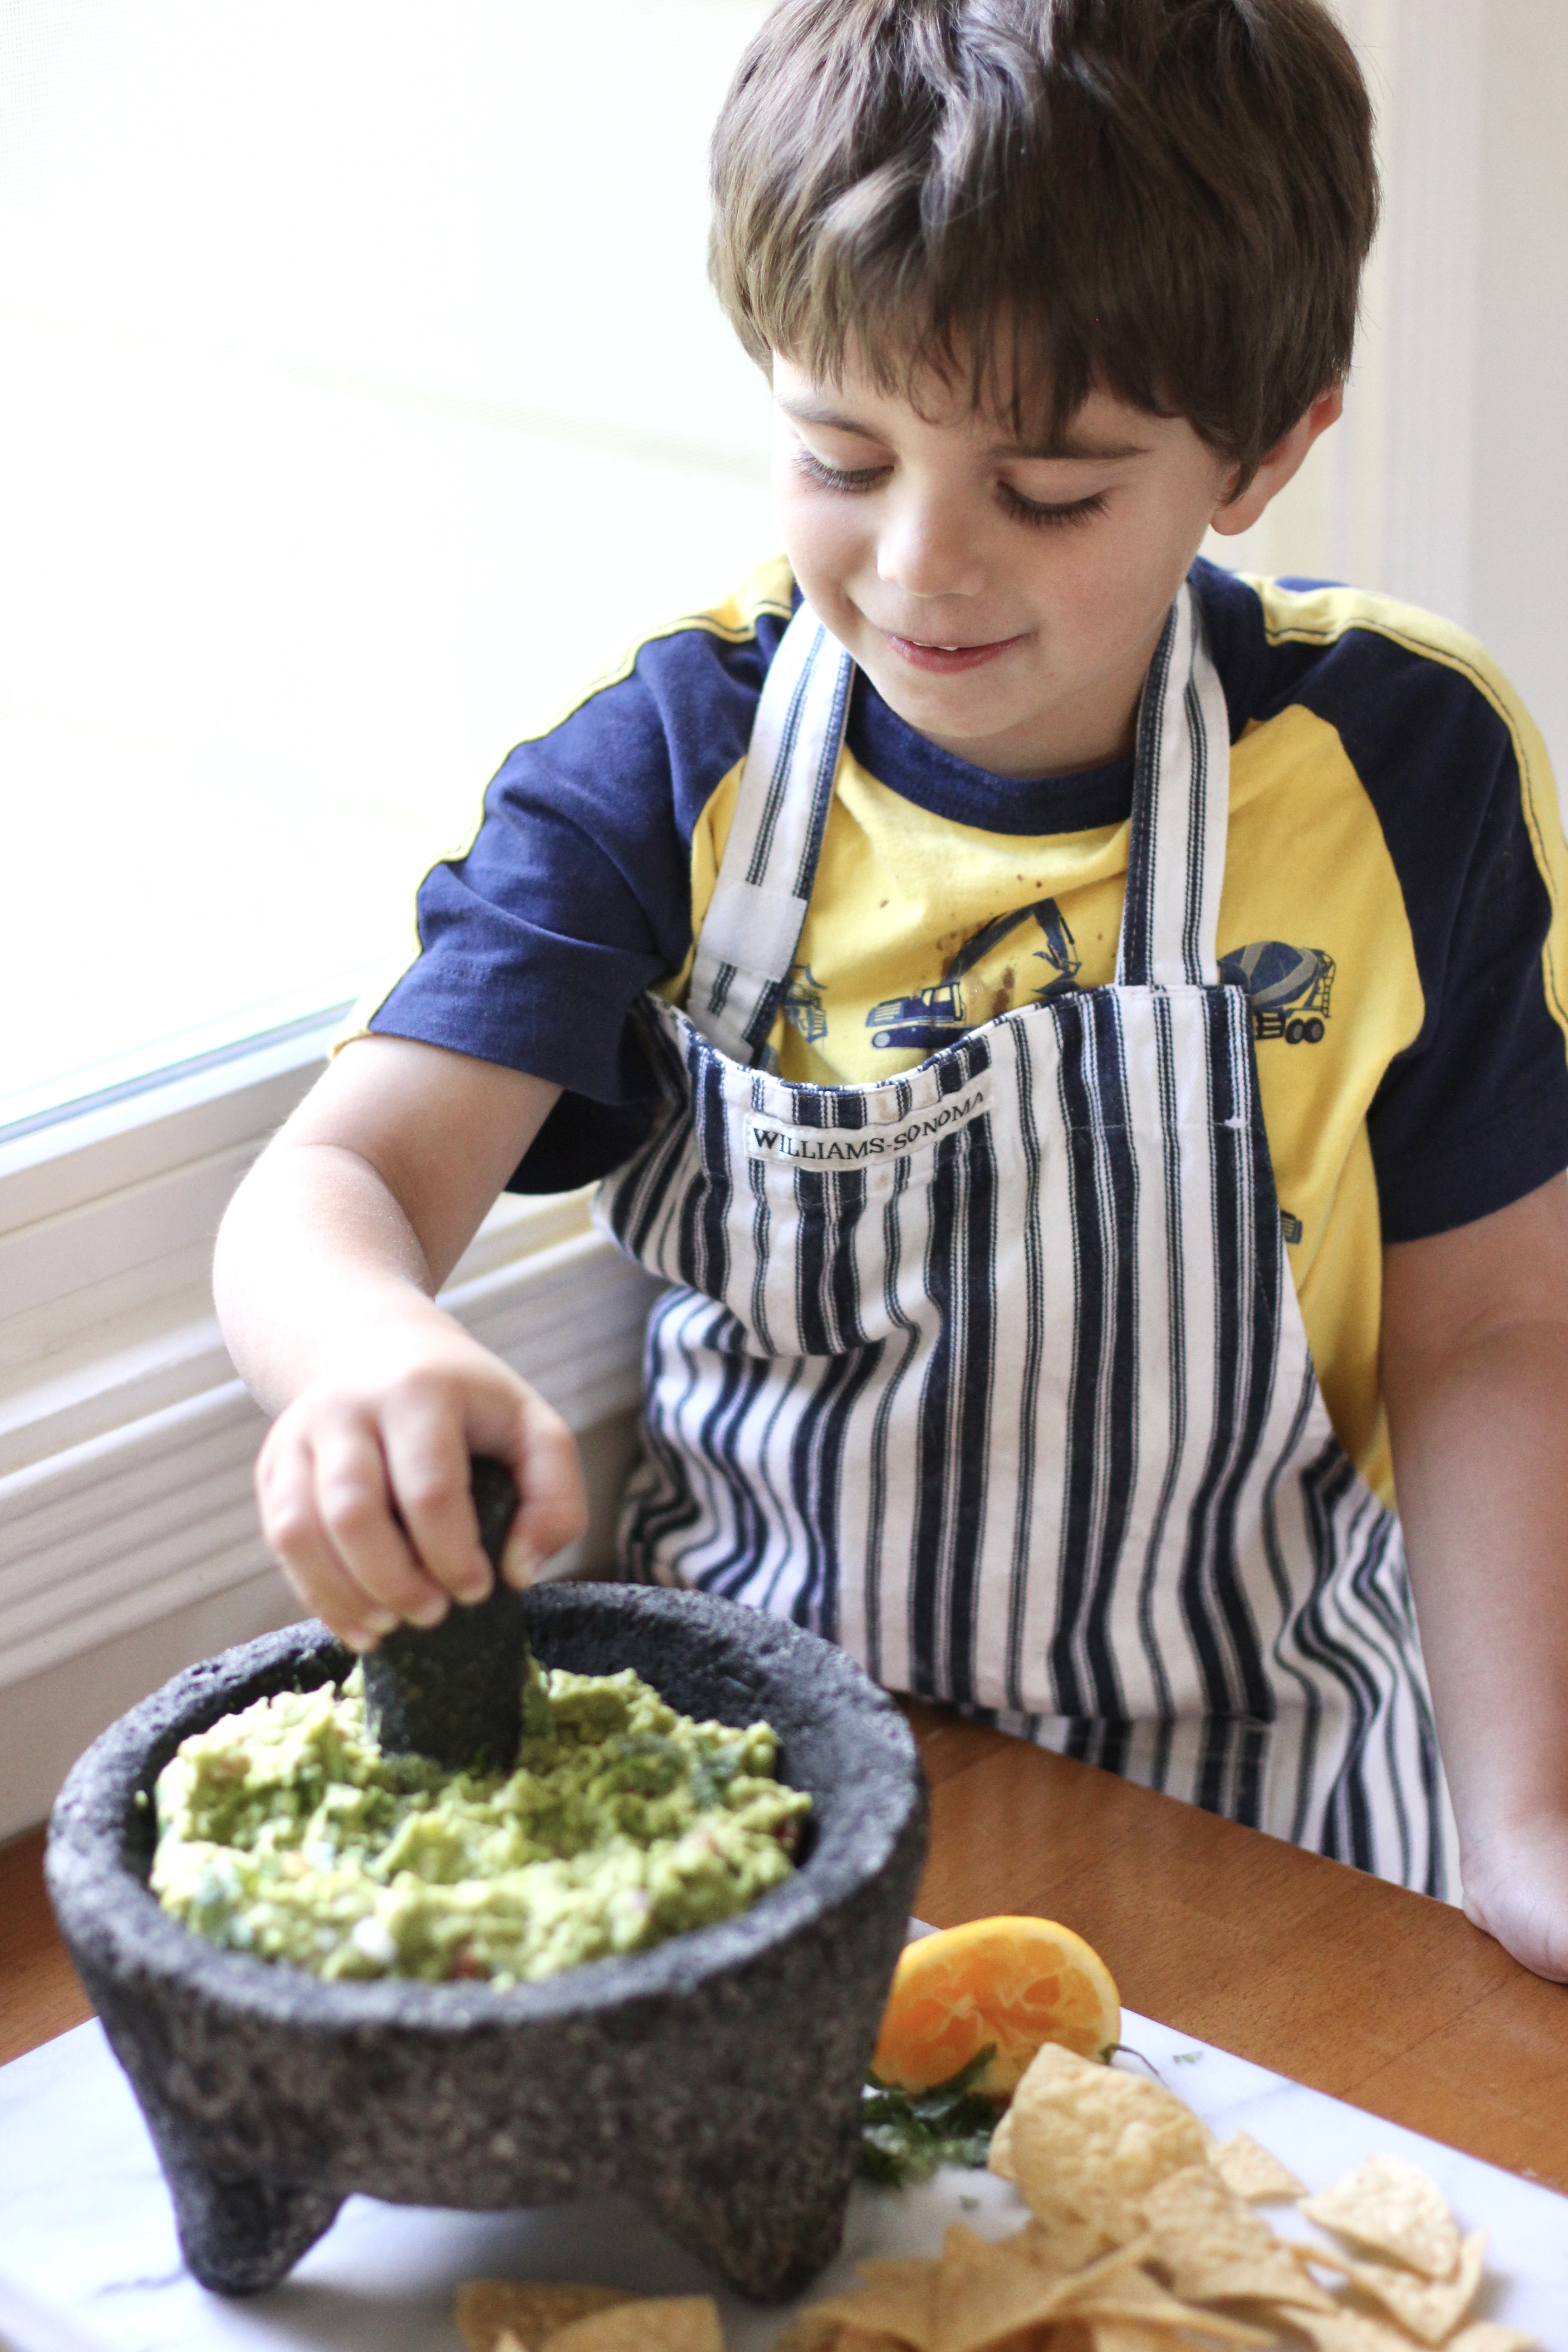
fullsizeoutput_28a5

INGREDIENTS:

  • 3 large avocados
  • 1/4 cup of finely diced red onion
  • 1 medium tomato, about half a cup, diced.
  • juice of 1 lemon
  • 1/4 cup of chopped cilantro
  • salt to taste, I used 1/2 teaspoon

INSTRUCTIONS:

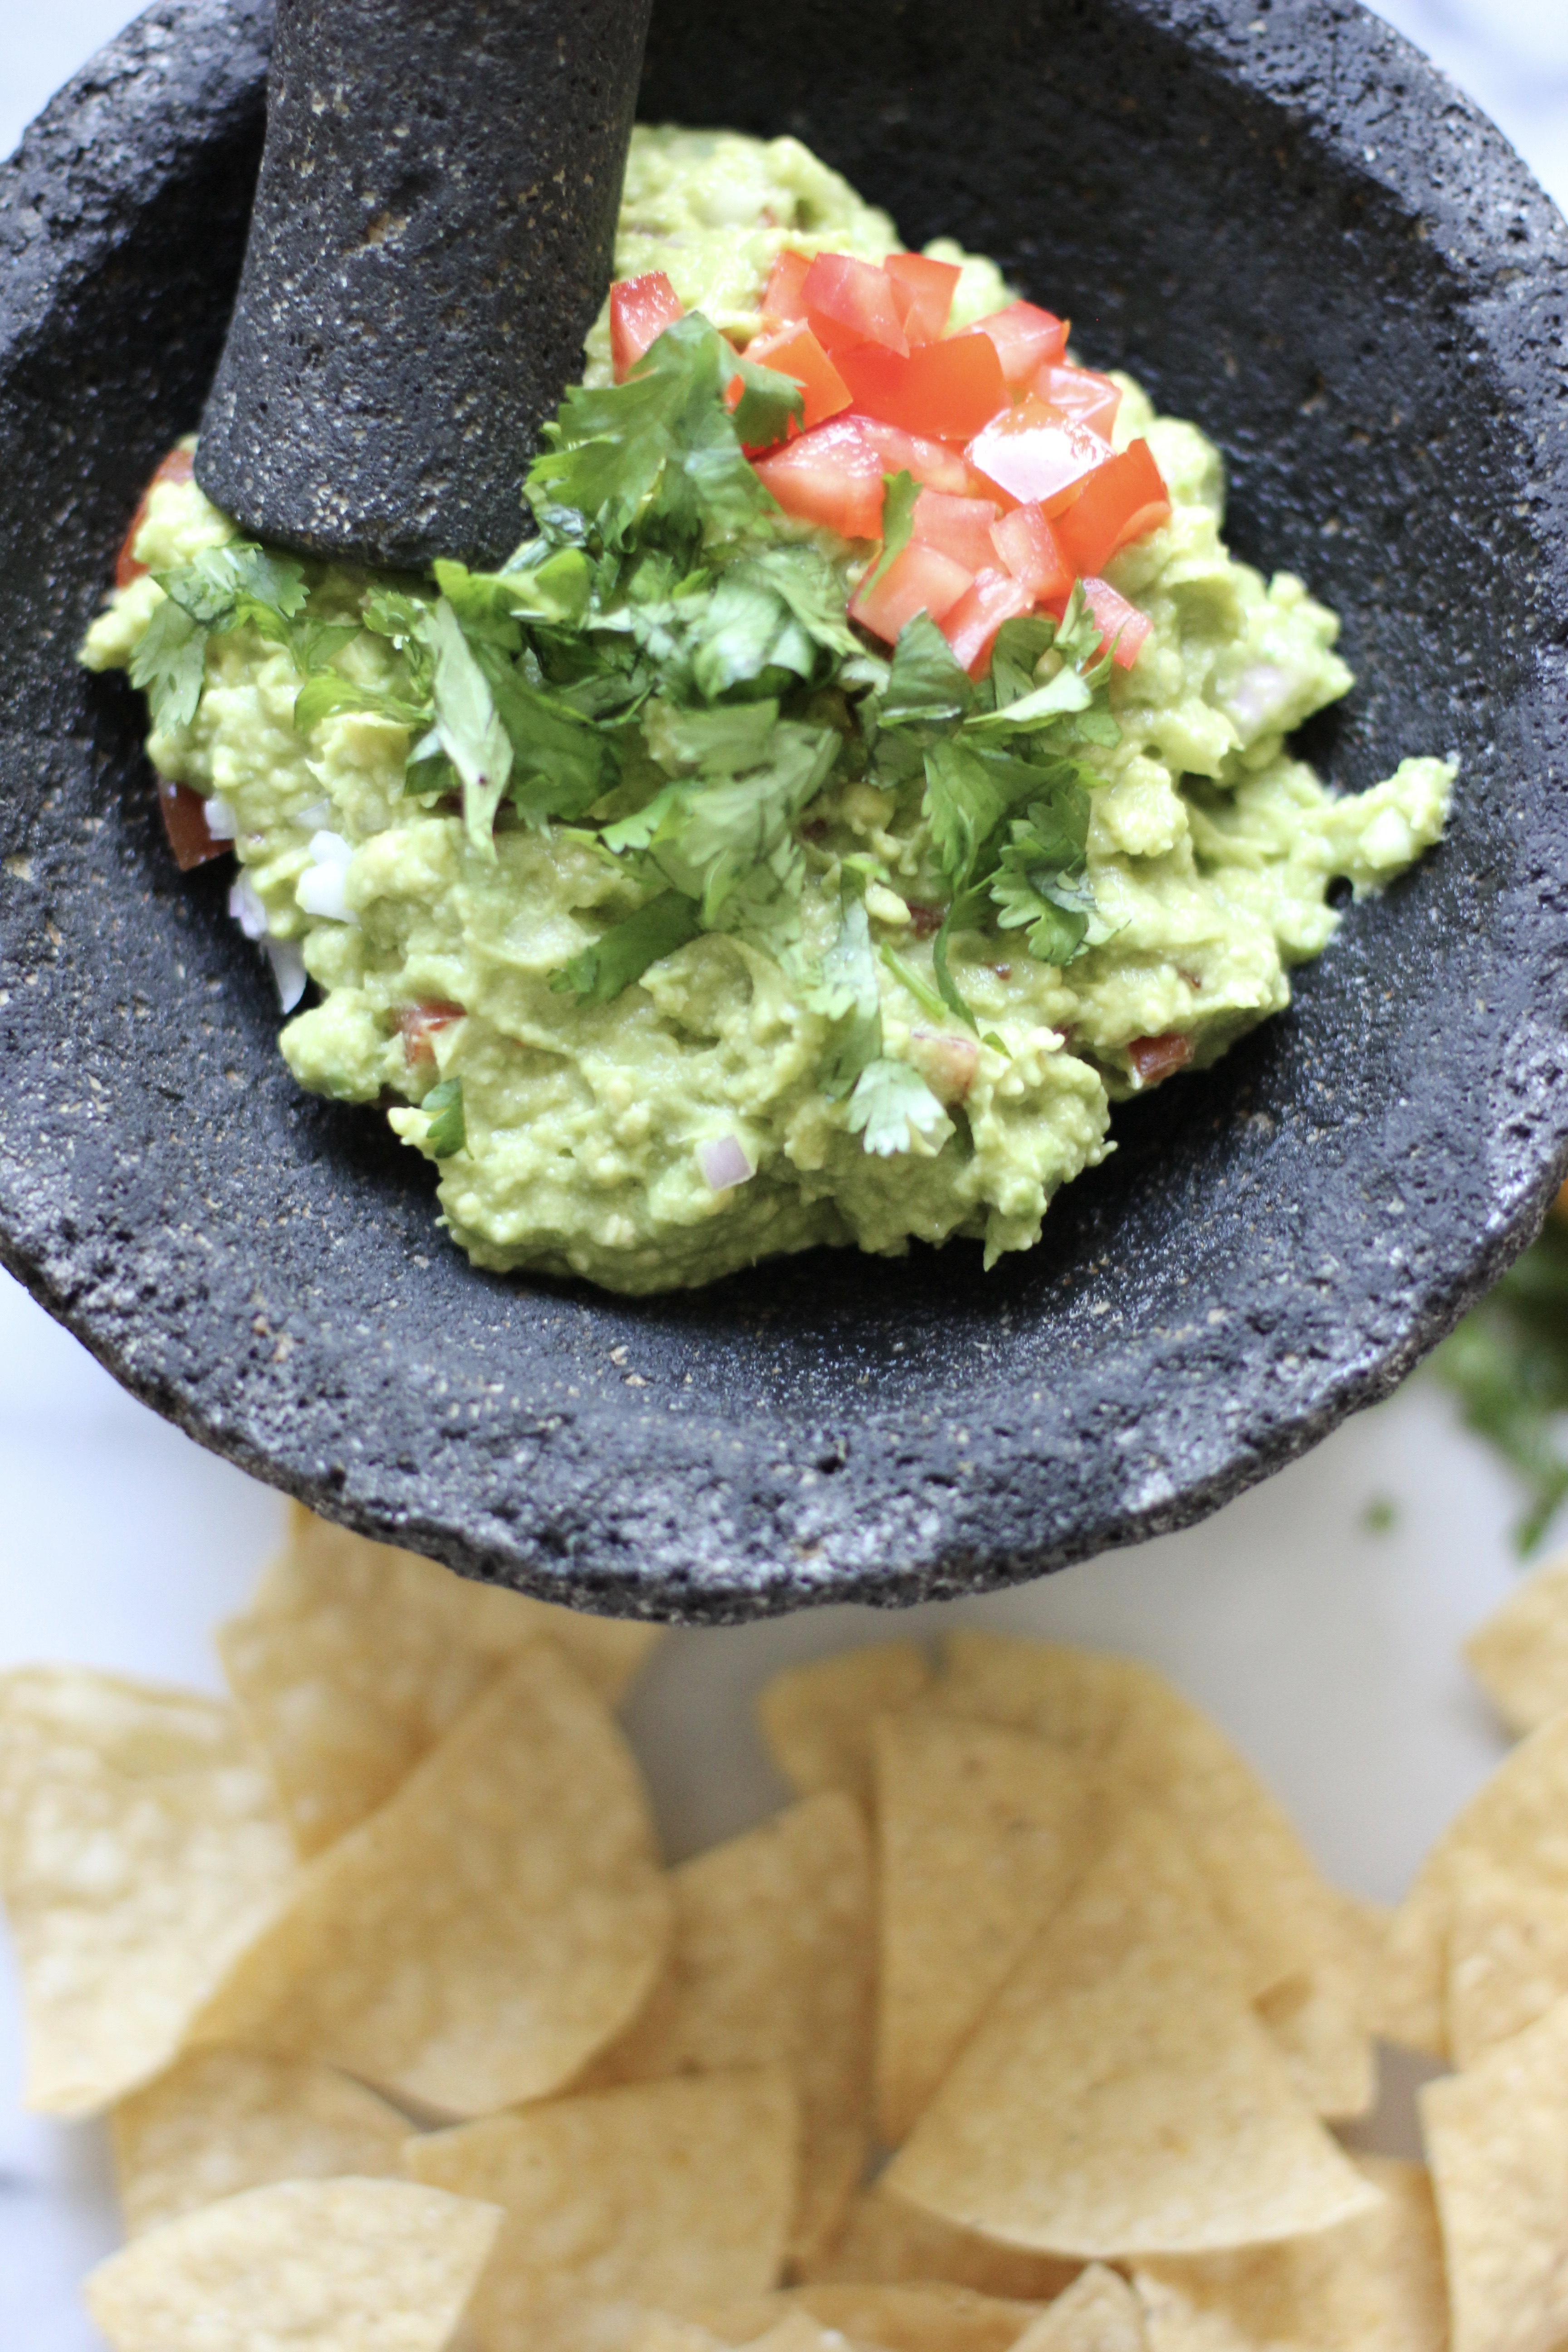
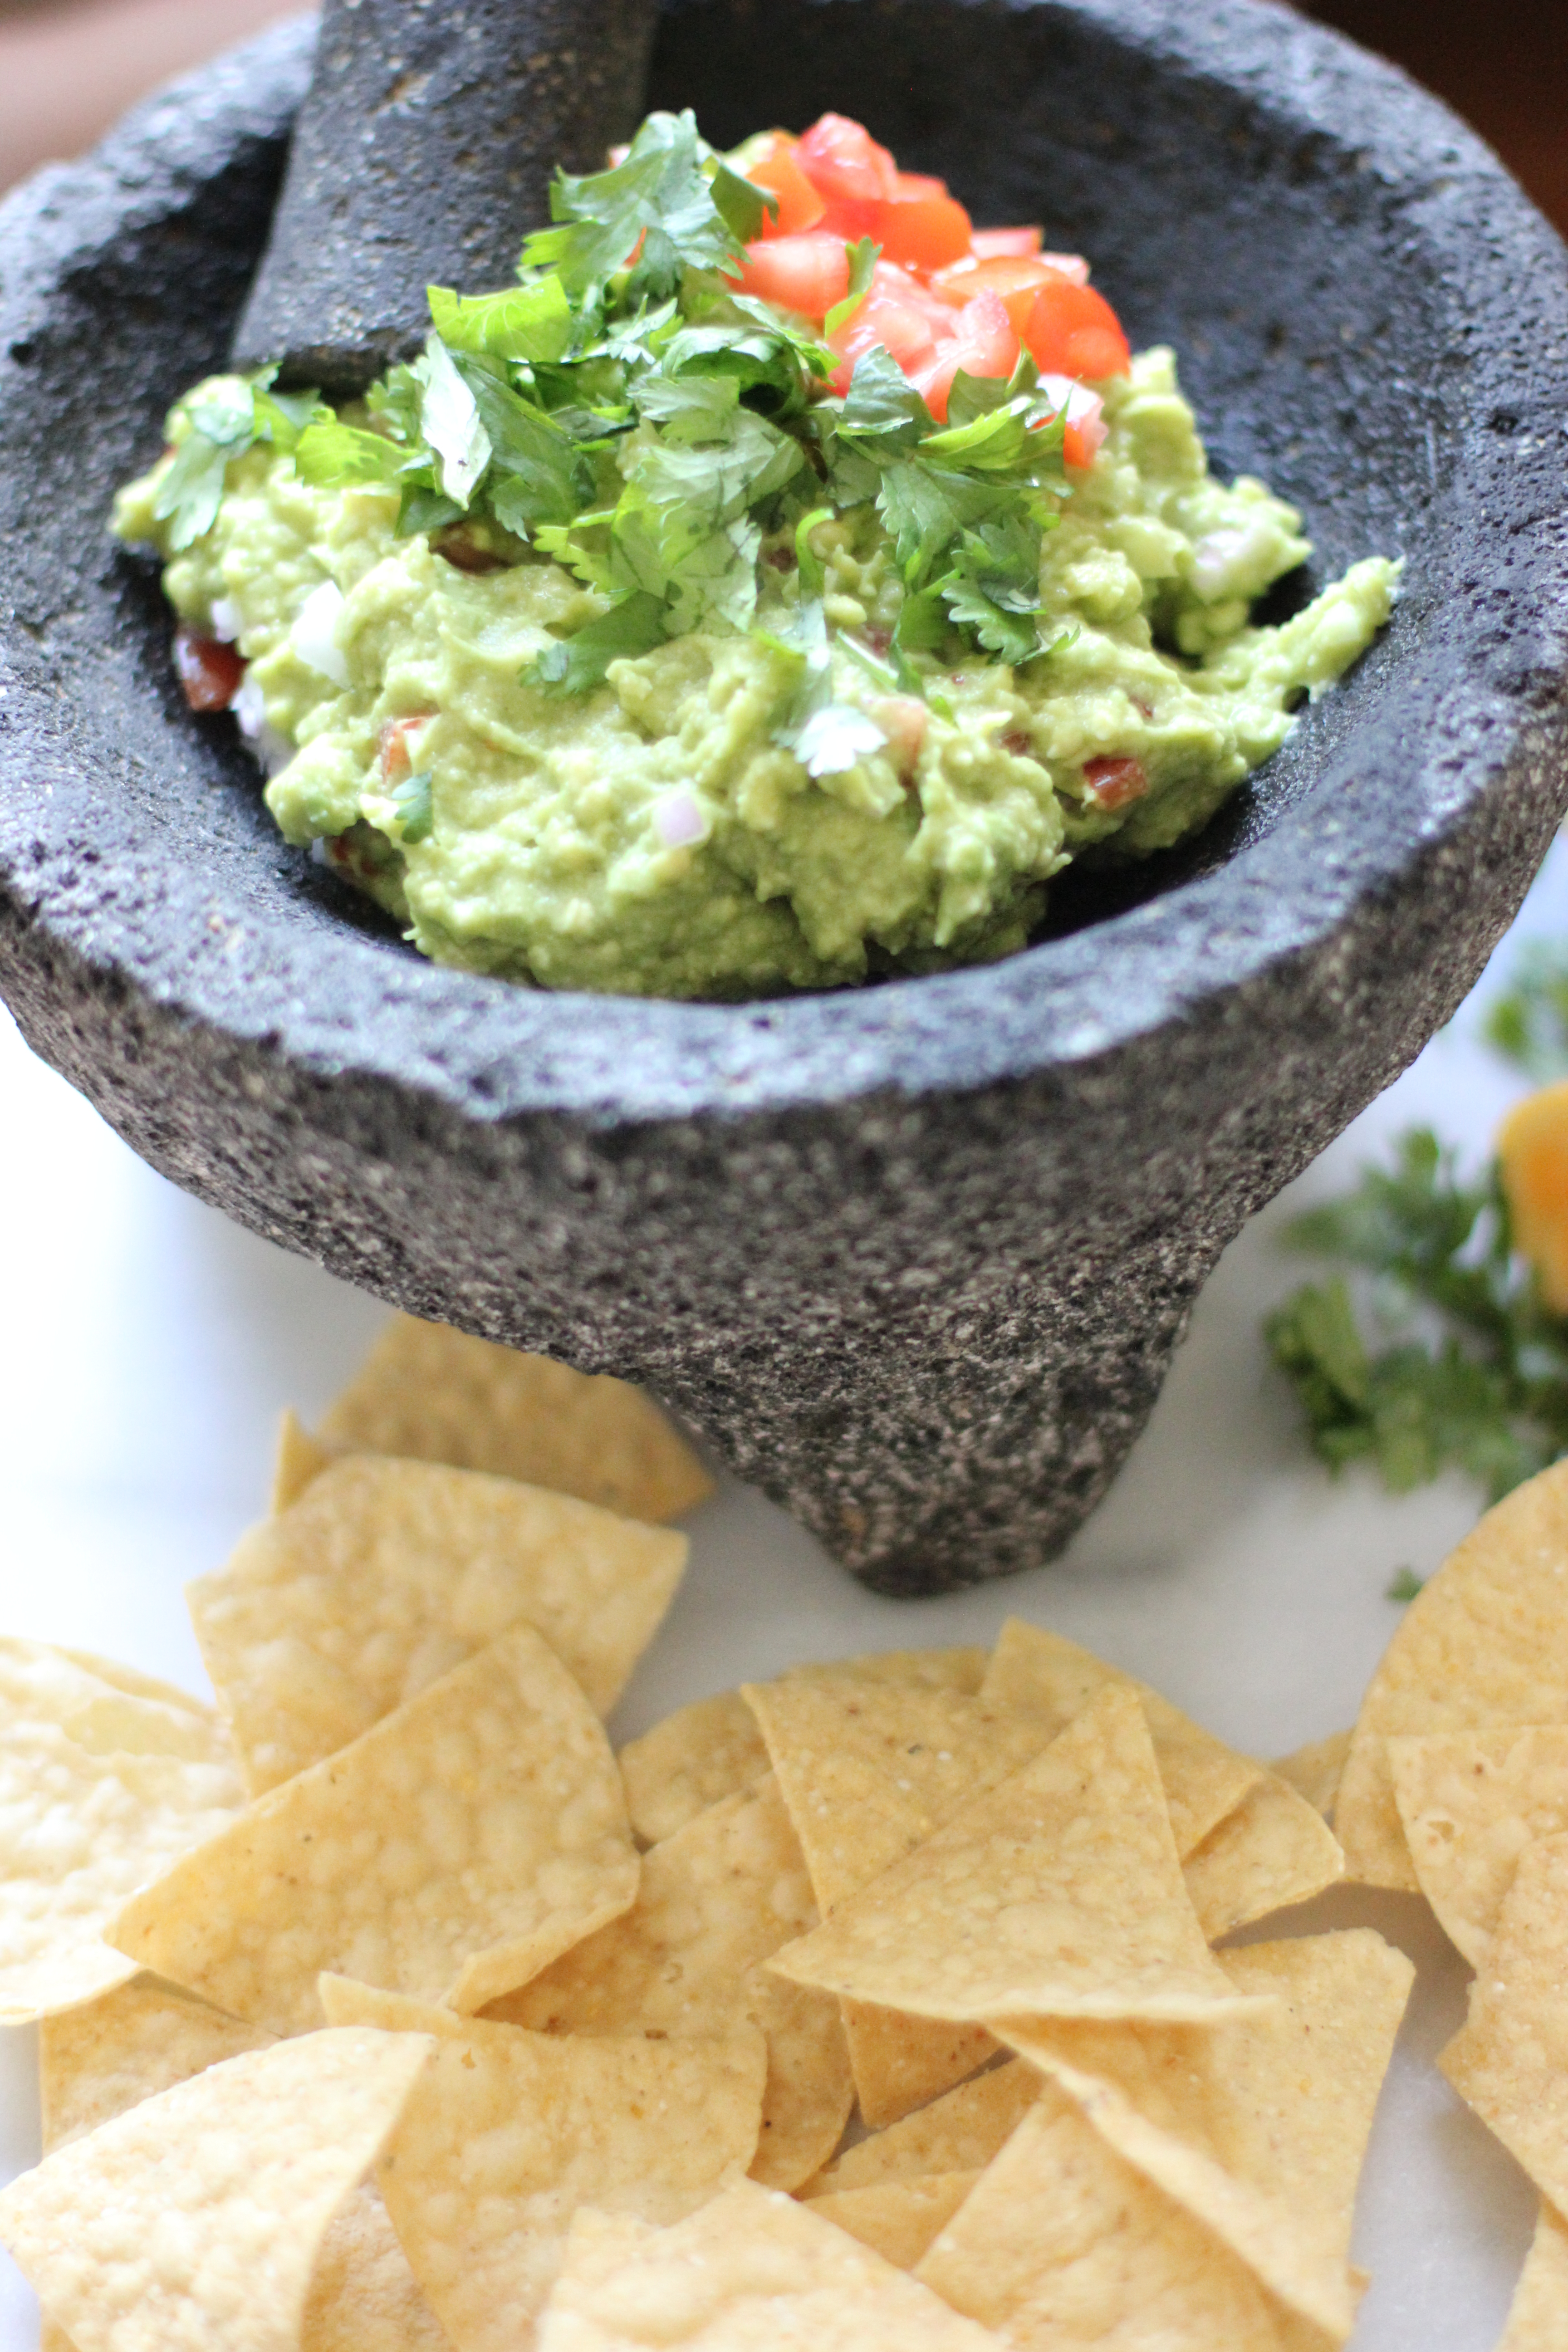
  1. Cut the avocados in half, remove the seed. Scoop out the avocado flesh into a medium sized bowl. Or a molcajete, as I used in the pictures.
  2. Mash with a fork or pestle.  I like to leave a few chunky bits, it doesn’t have to be completely smooth.
  3. Add salt and lemon juice. I prefer to add the lemon juice immediately, because the acid from the lemon juice will keep the green avocado flesh from turning brown too quickly.
  4. Add the red onion, tomato, and cilantro and stir together until fully mixed.
  5. Enjoy with your favorite chips!

NOTES:

  • Typically, I try not to store my guacamole in the fridge for more than 20 minutes before serving.  However, if you must store it, whether for 20 minutes or an hour, make sure you put plastic wrap right on the guacamole to cover it. If the plastic wrap is touching all the guacamole and pressed onto it, it will prevent air from reaching the guacamole. If air reaches the guacamole it causes oxidation and the guacamole to brown.
  • Guacamole is based on preference, so feel free to add a pinch of lime juice, chili, green onion, more tomato, etc. … in the summertime I love to add a little corn to my guacamole.  Delicious!
IMG_6527

IMG_6522

fullsizeoutput_28aafullsizeoutput_289a

Cheers!

SaveSave
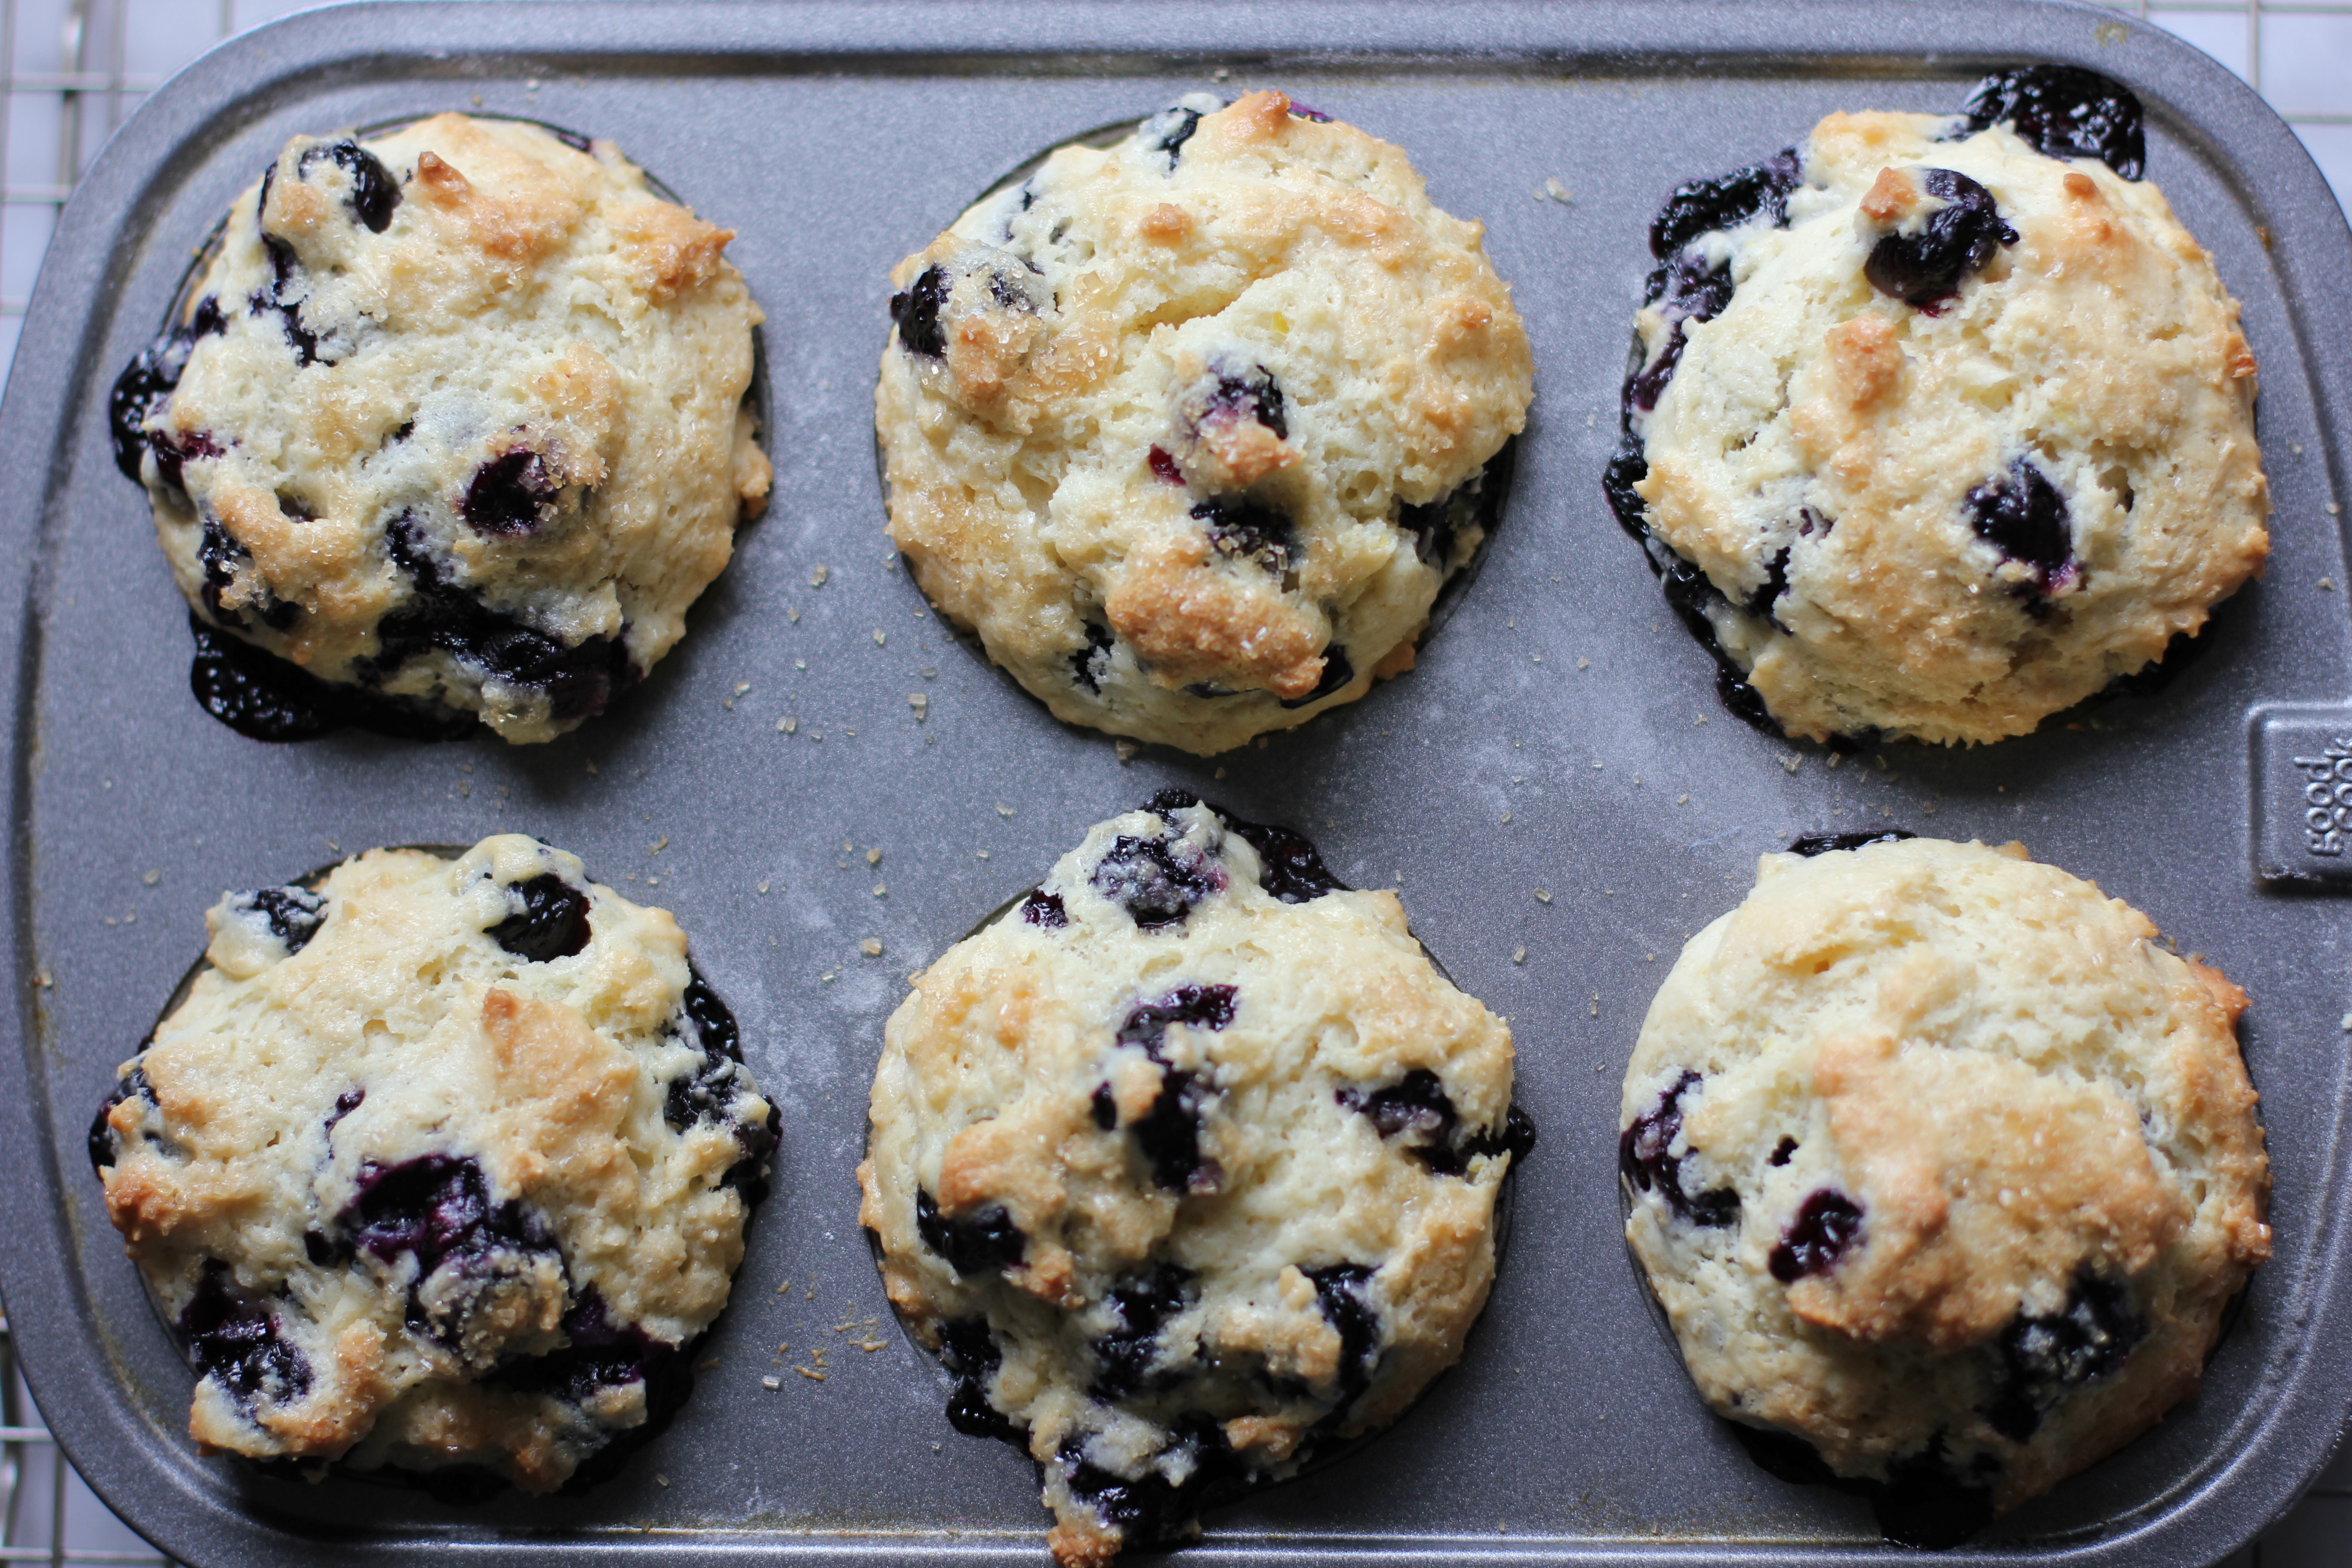
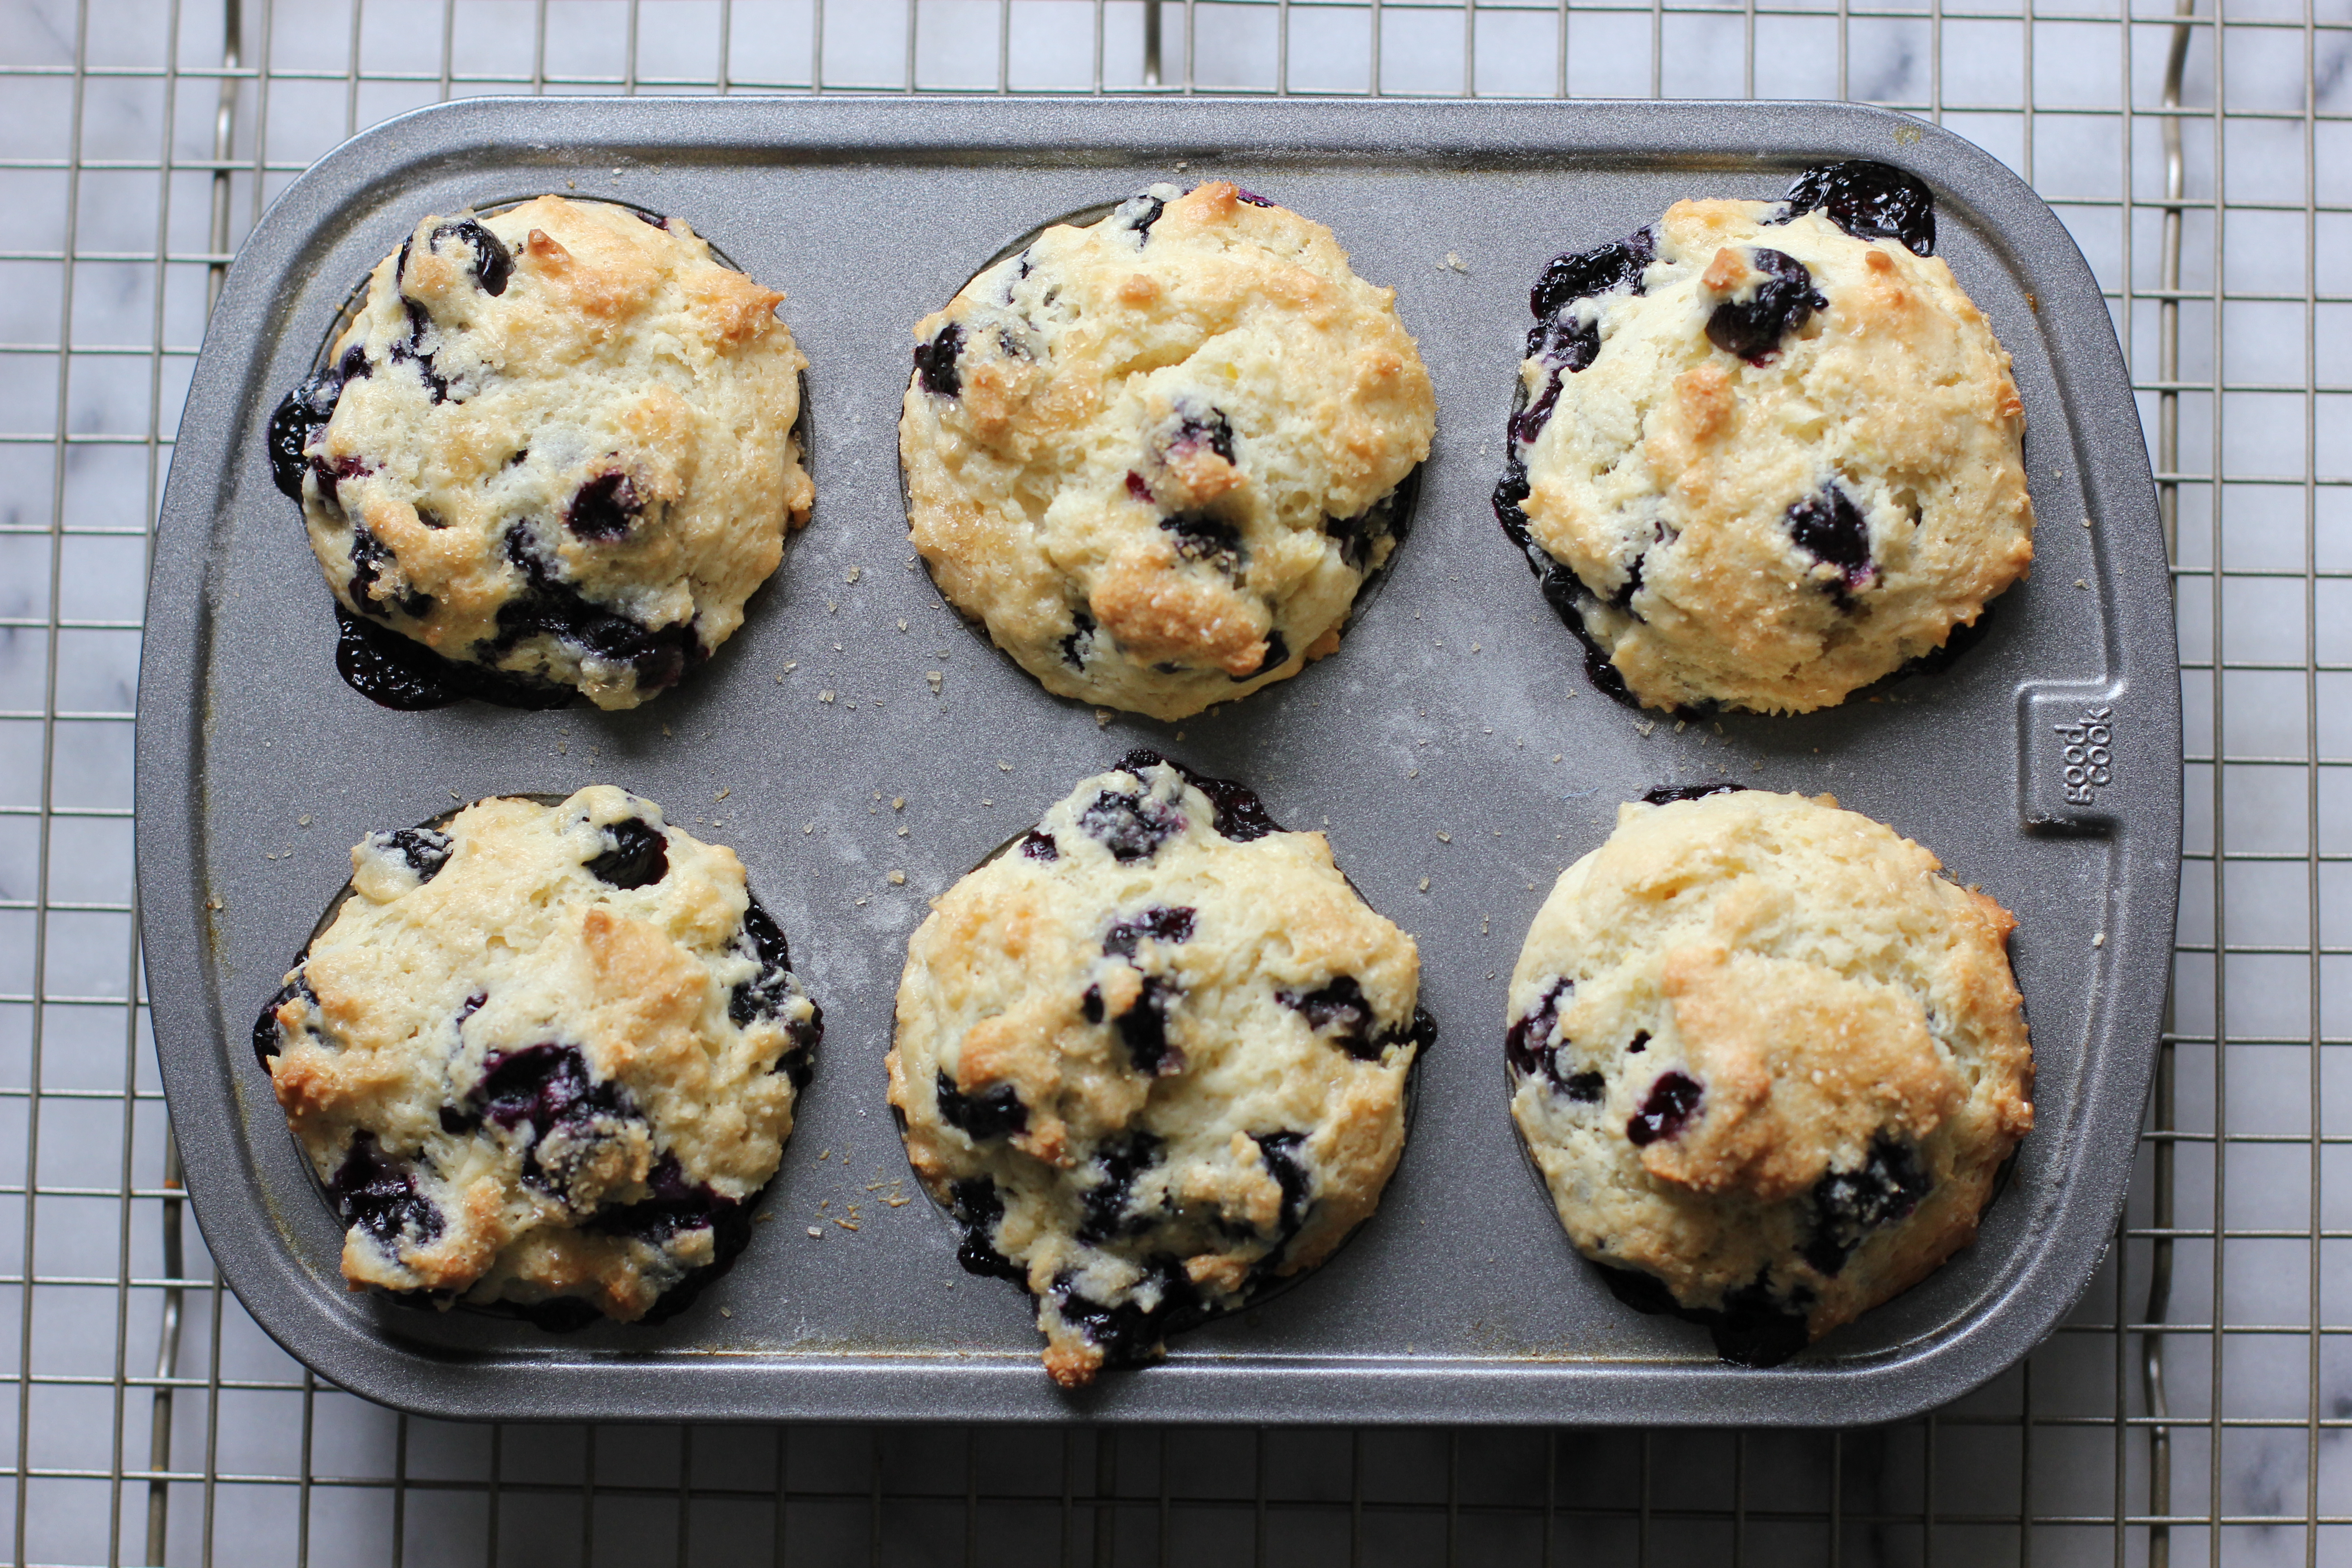
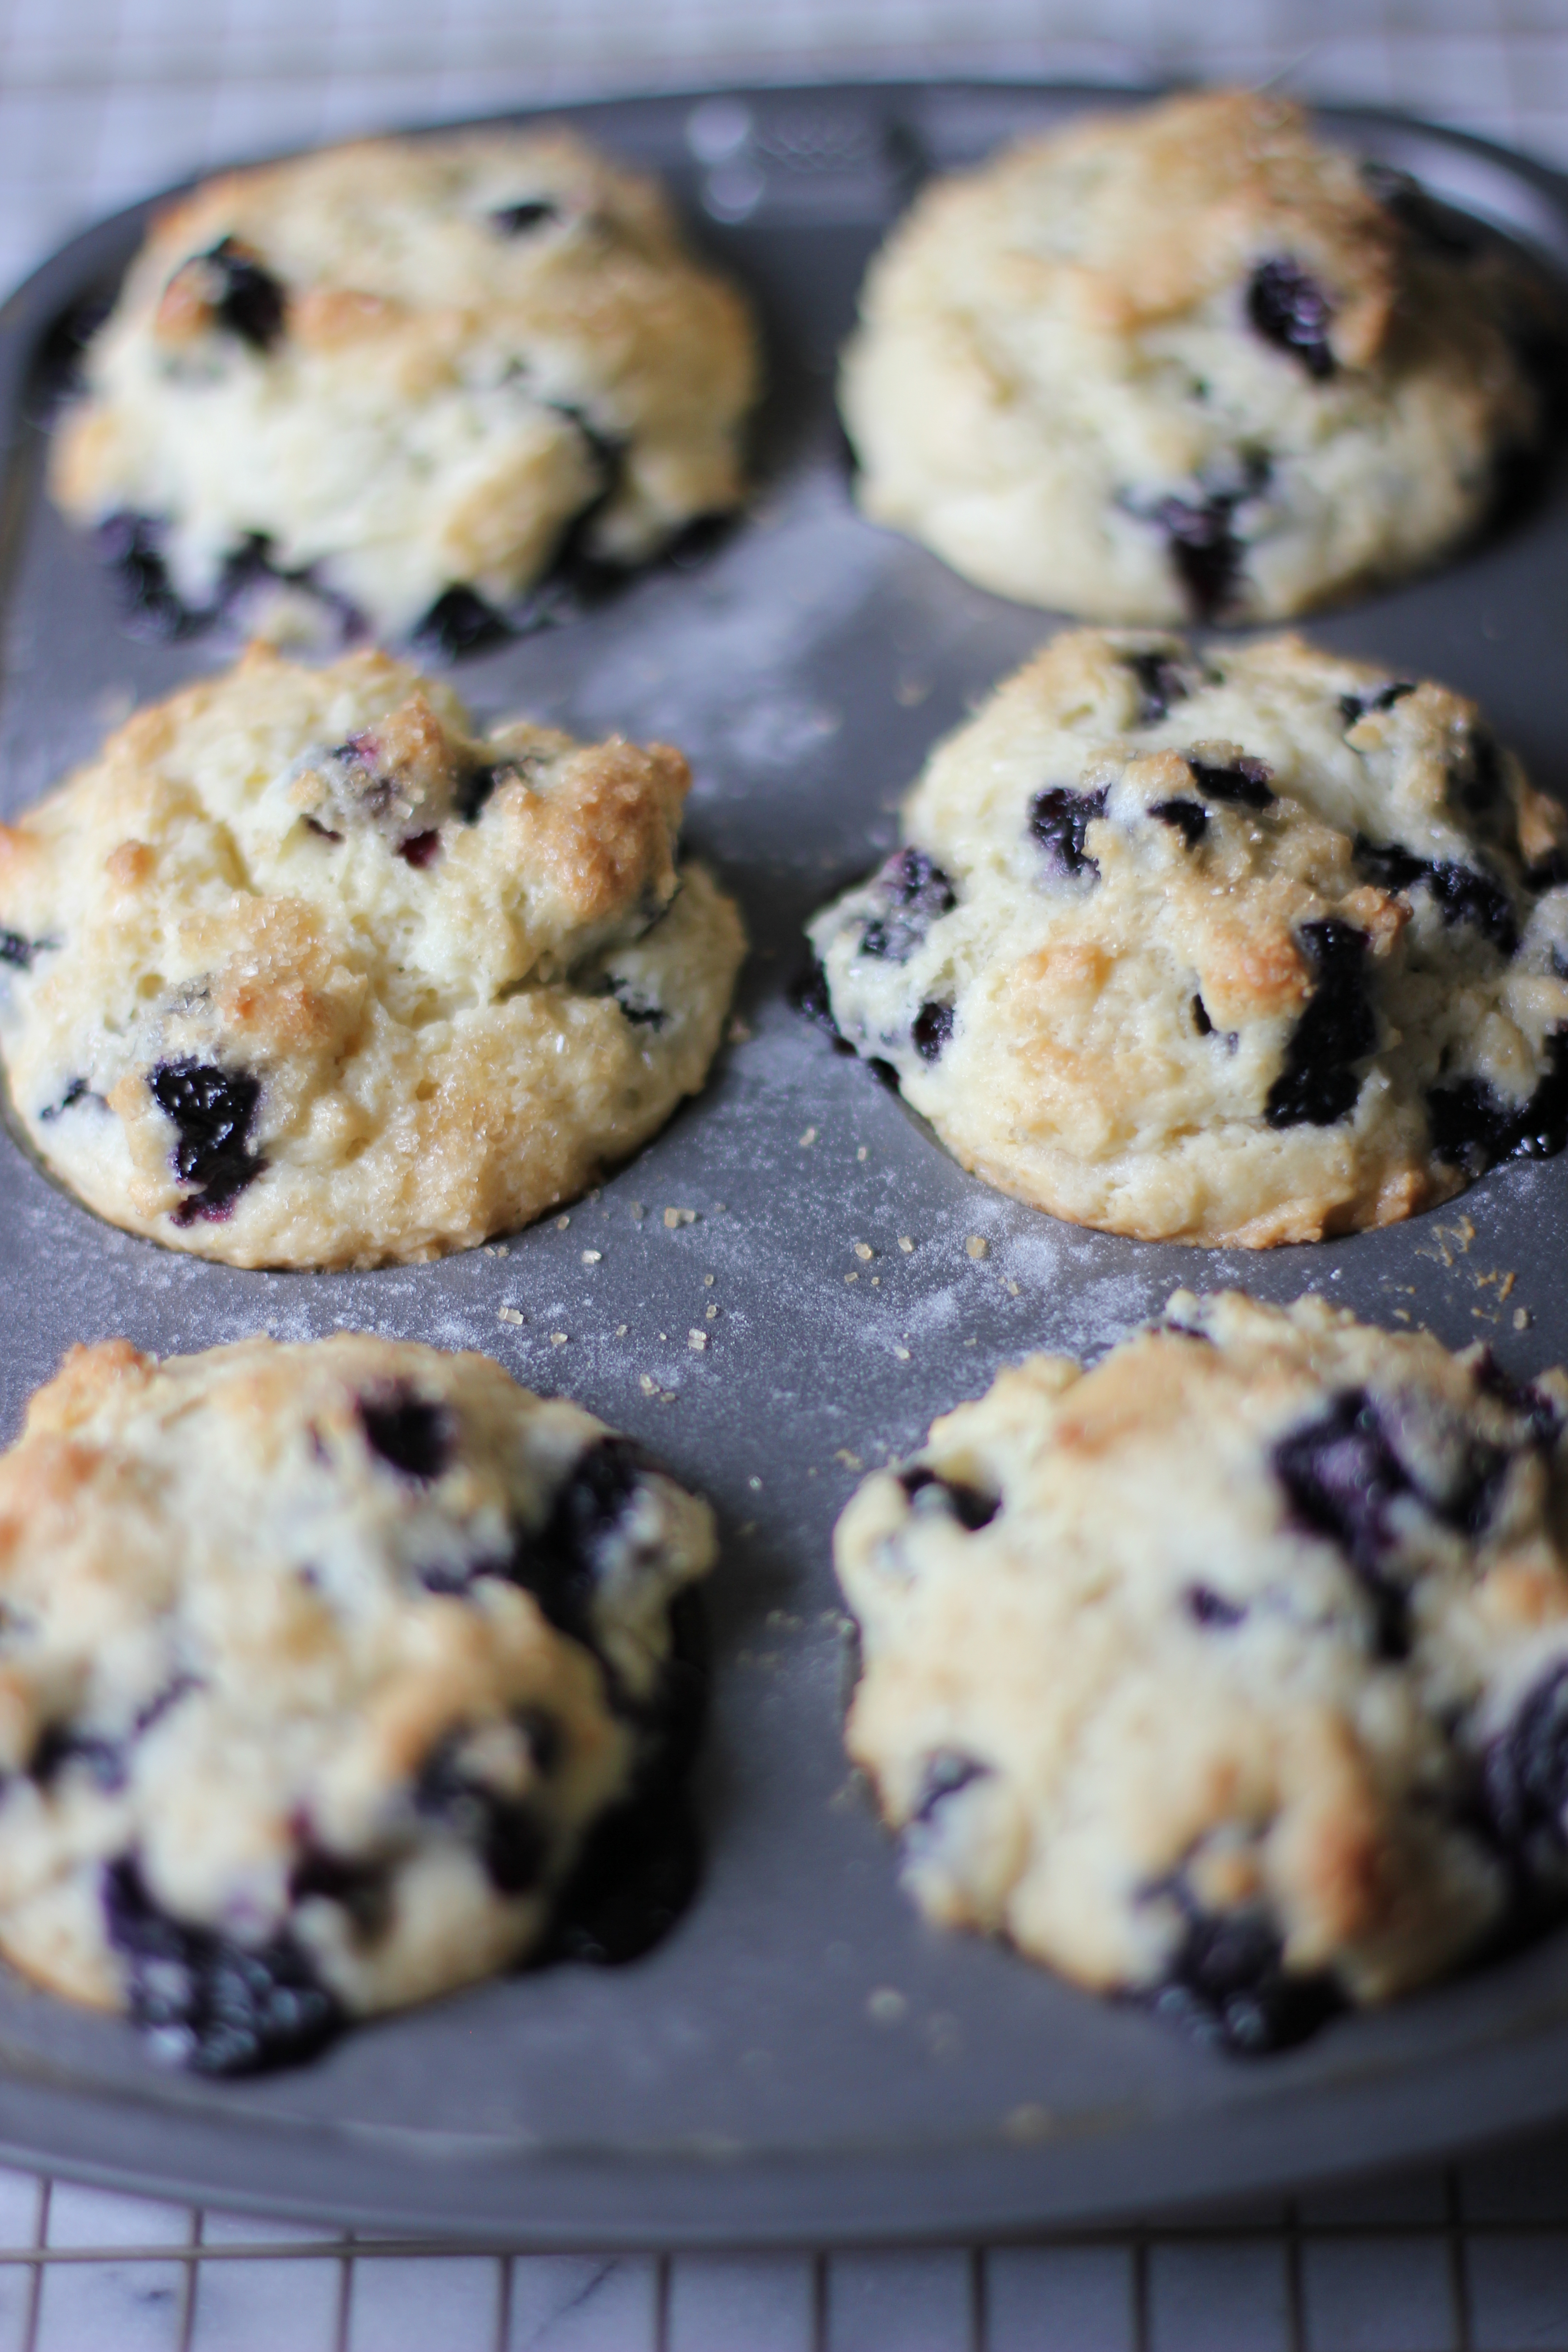
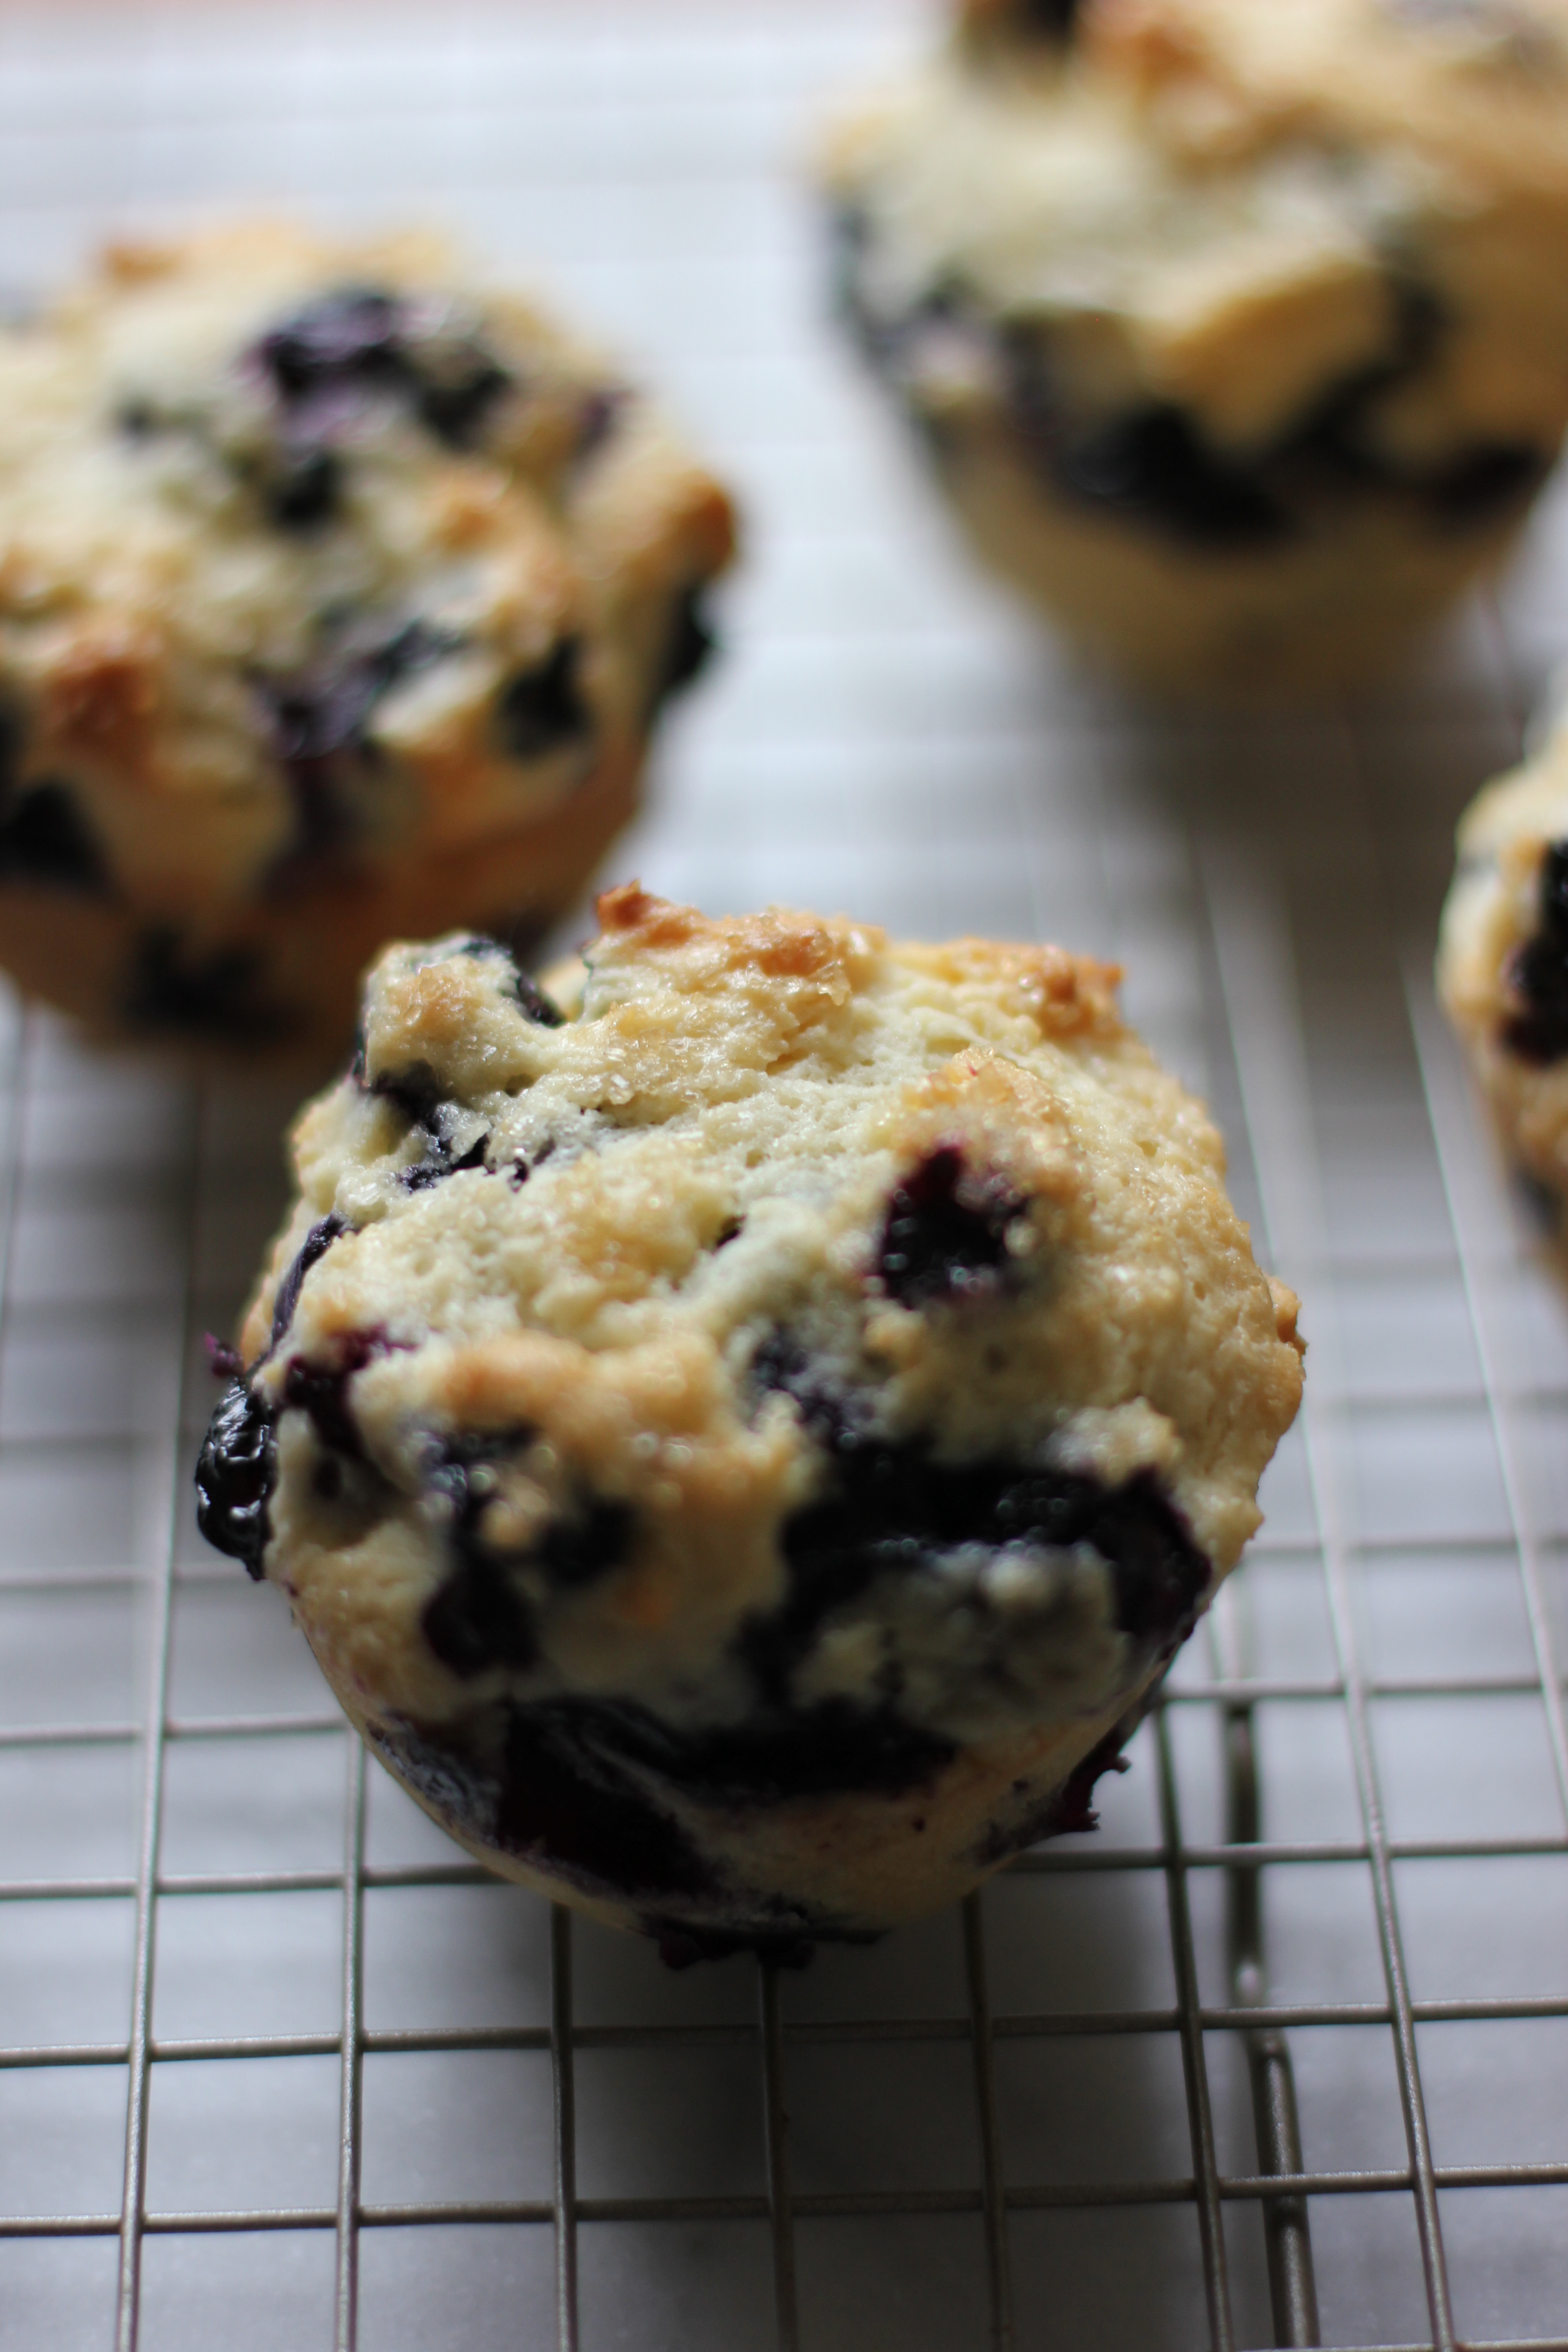
One Bowl Blueberry Muffins

IMG_6172

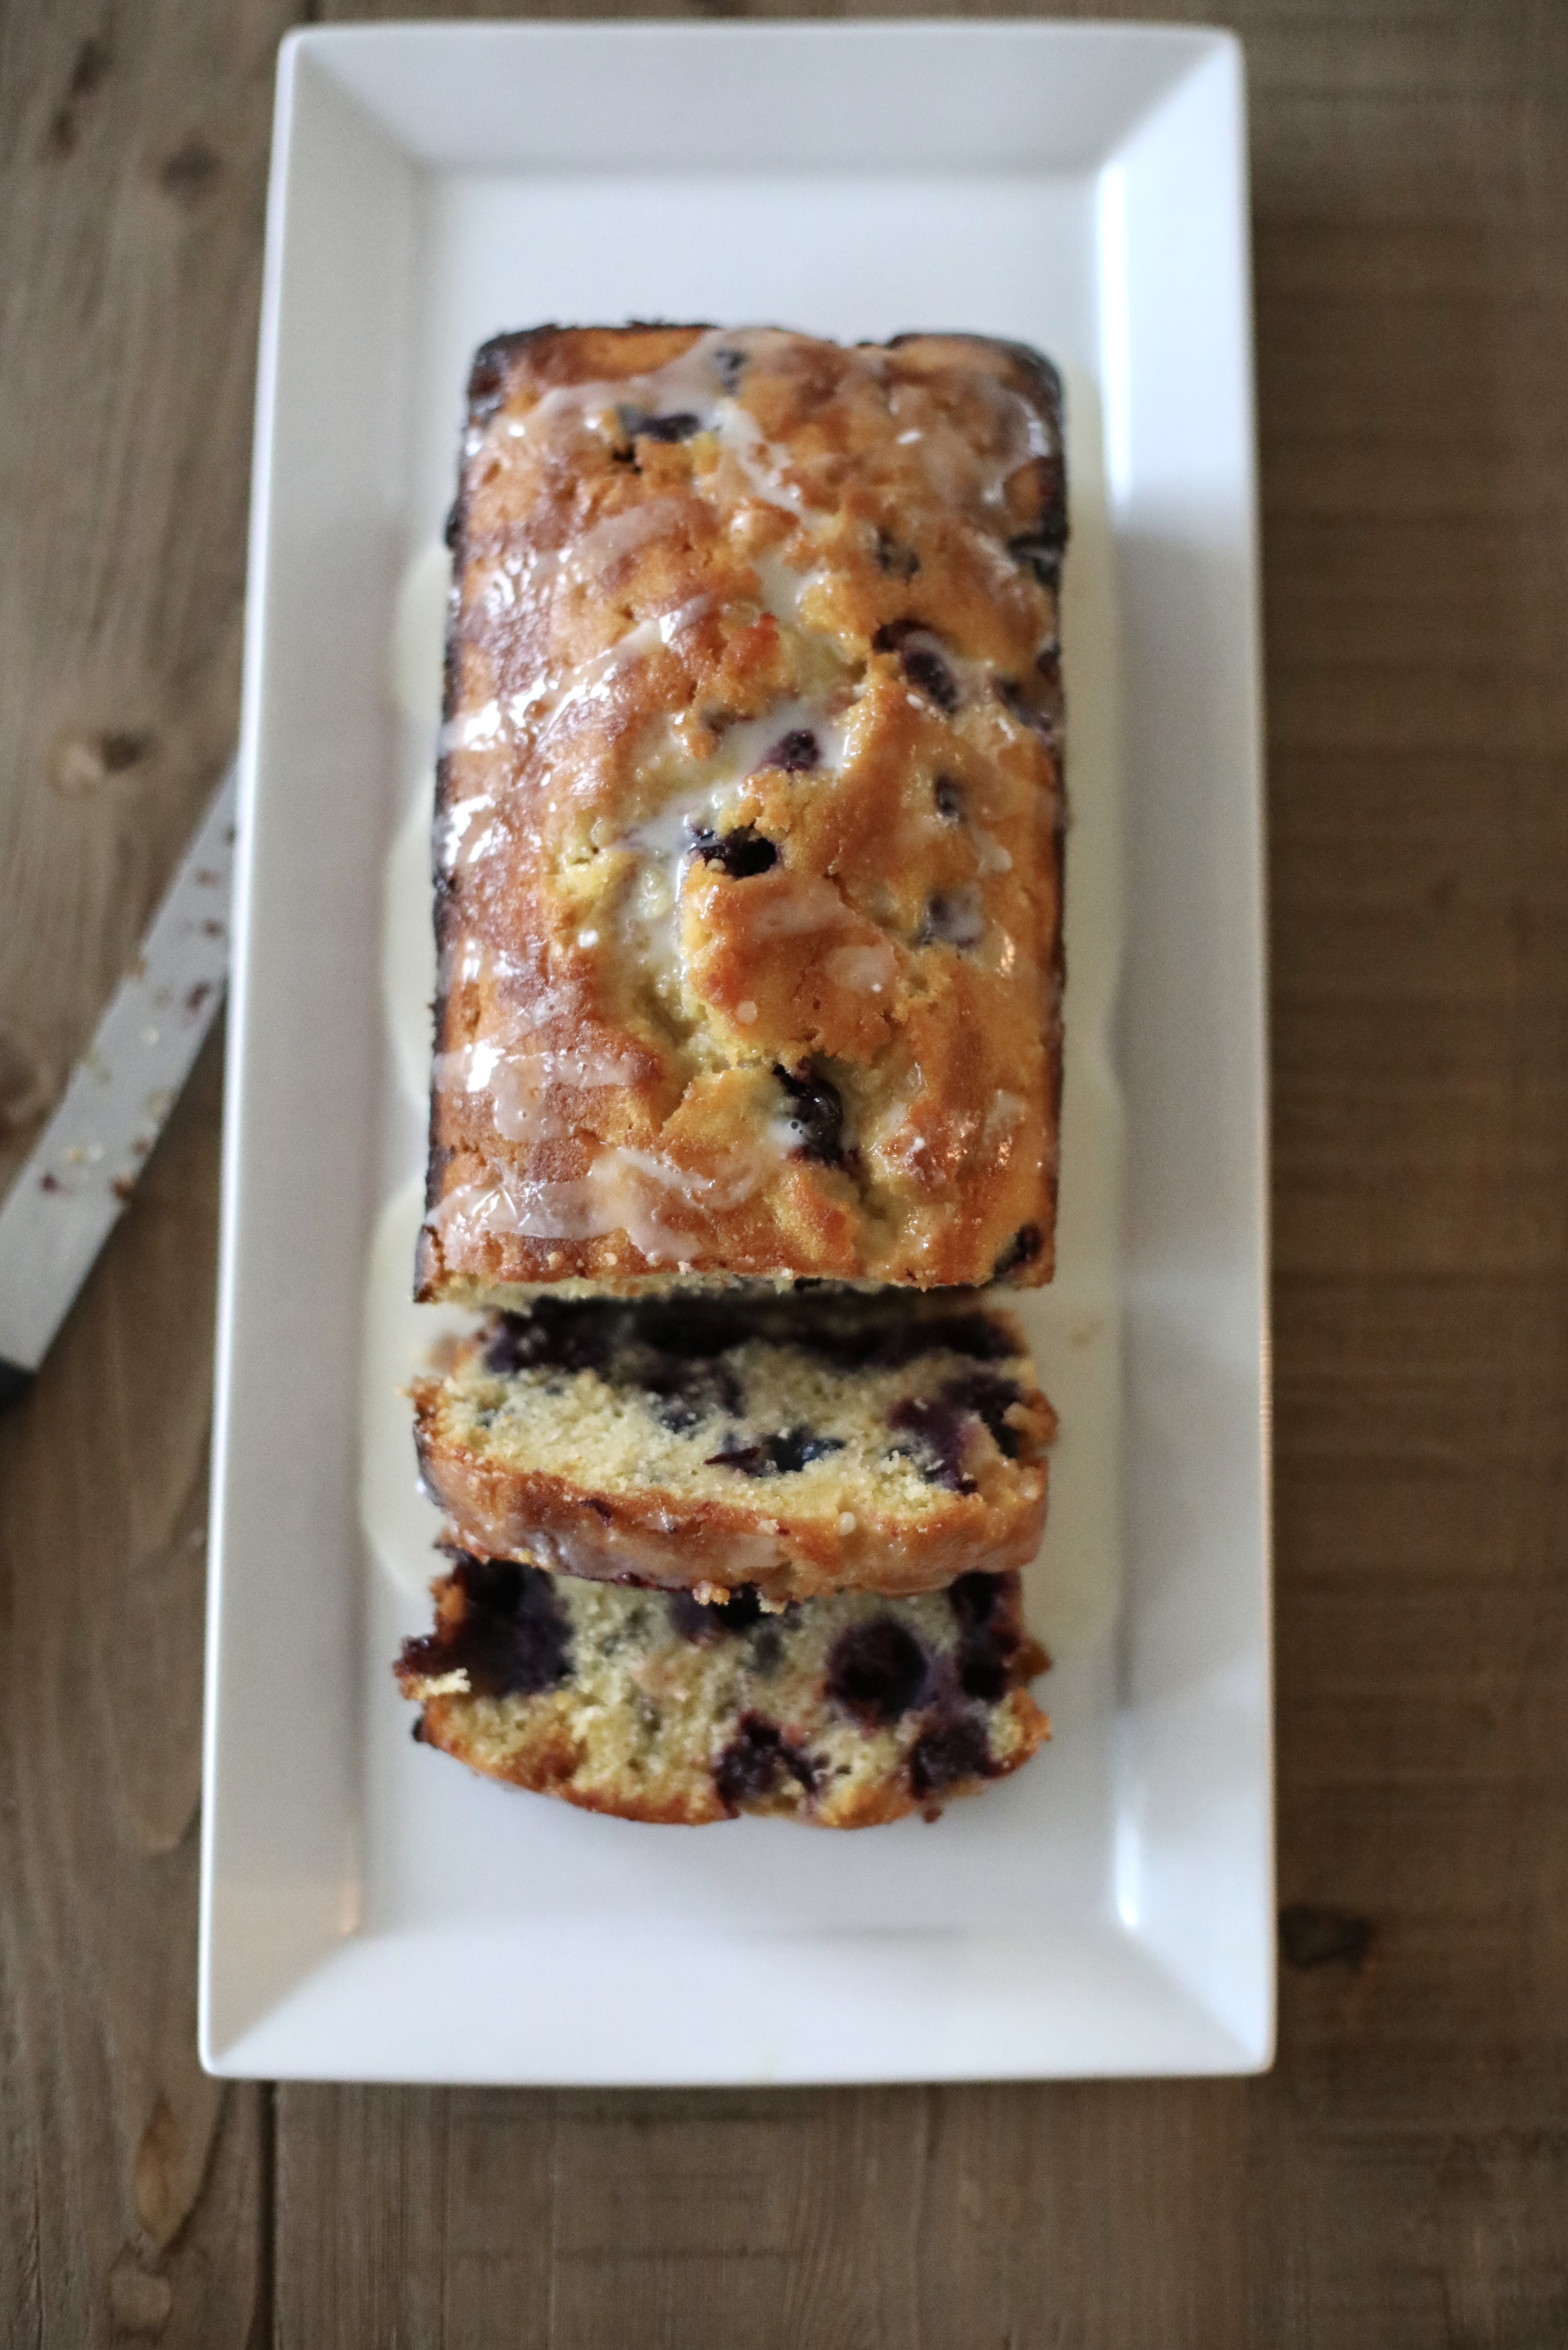
This is a recipe that I am going to commit to memory. It’s that good and that simple! One of my kids has been inhaling blueberries these last couple of weeks, to the point where I just can’t buy enough of them.  However, this week either she slowed down eating them or I bought too many because I found myself with a couple extra packs and somewhat unsure what to do with them. For a while I contemplated blueberry scones — my very very favorite blueberry scones, but that requires dusting the countertop with flour, using super cold butter, etc… etc… and to be frank: too big of a mess; too much of a hassle.

I’ve been pouring over the recipes in Deb Perelman’s book Smitten Kitchen Every Day since I got it around Christmas time and when I turned to these muffins yesterday I knew I had to make them ASAP! No fussy ingredients, one bowl, add the ingredients, mix it up, bake, enjoy… and easy clean up! To be honest, no one likes doing dishes. Especially on a weekend morning. So do yourself a favor and whip these up — you’ll be so happy you did!

IMG_6176

INGREDIENTS:

5 tablespoons unsalted butter

1/2 c. granulated sugar

finely grated zest from half a lemon (I zested a whole, you should too)

3/4 c. sour cream

1 large egg, room temperature

1 1/2 tsps baking powder

1/4 tsp baking soda

1/4 tsp salt

1 1/2 c. all-purpose flour

1 1/2 c. fresh blueberries

3 tablespoons turbinado sugar, for dusting

INSTRUCTIONS:

  1. Heat oven to 375. Line a muffin tin with 9 liners, or do as I do, and butter the muffin tin and then dust with flour, the good old fashion way.
  2. In a large, microwave safe bowl, melt the butter – about a minute and a half in the microwave.
  3. Add the sugar, lemon zest, sour cream, egg and whisk until smooth.
  4. Add the baking powder, baking soda, and salt.  Whisk until fully incorporated.
  5. Add the flour and blueberries.  With a wooden spoon or rubber spatula, gently fold in the flour and blueberries to the batter.
  6. The batter will be thick and smell delicious.  Go ahead, taste a little 😉 Divide the dough into the 9 prepared muffin cups and sprinkle a generous amount of turbinado sugar on top of each muffin.
  7. Bake for 25 minutes, then let cook for 10 minutes and enjoy!!

IMG_6181

IMG_6187

cheers!